Elite Squat Techniques: What the Best in the World Actually Do
The bracing, cueing, and pause work the strongest squatters use — and how to test it on your own squat.
By Dhiren Dunraj MSc
Key Insight
“The difference between a 200kg squat and a 300kg squat is the precision of a system refined over years of intentional practice, not raw strength alone.”
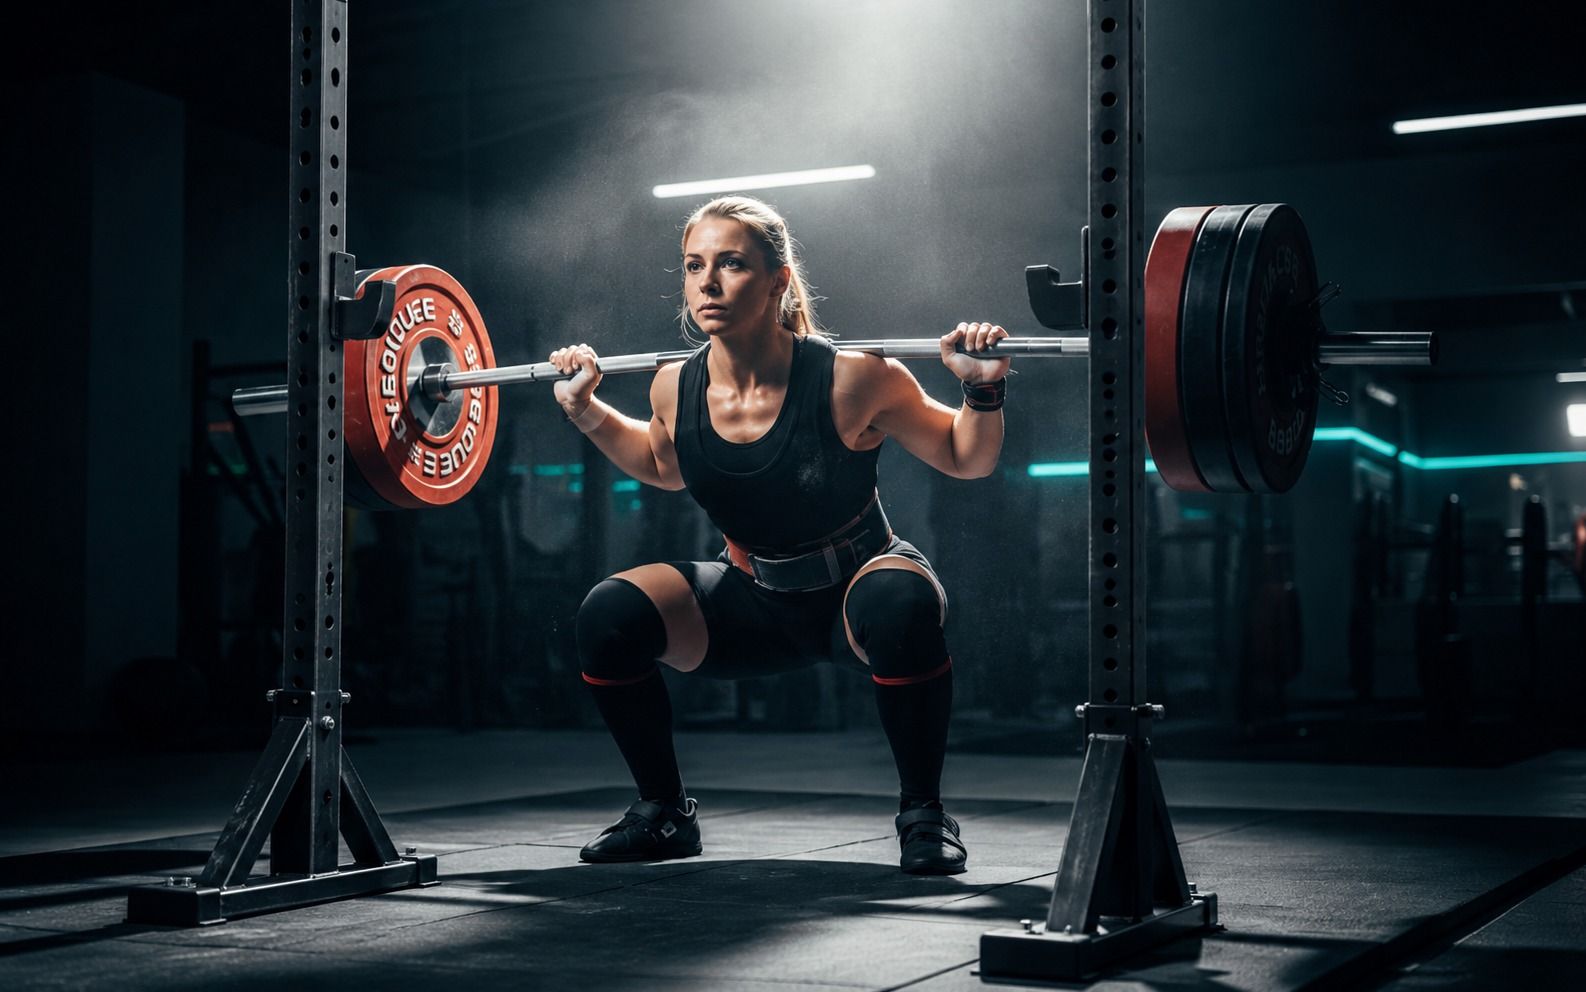
Elite lifters squat more precisely, not only heavier. Watch the best squat under maximal load and the first thing that strikes you is the composure, not the weight [1]. The walkout is deliberate. The descent is controlled. The bottom position is owned, not survived. The ascent is violent but organised. The lockout is complete and unhurried. Every element of the lift is a practised skill, executed with the precision of a system that has been built piece by piece over years of intentional attention.
The techniques in this article are advanced skills, not corrections of beginner mistakes. Some of them take years to develop fully. All of them separate lifters who are strong from lifters who are elite.
360-Degree Pressurisation: The Advanced Brace
Most lifters know they should brace. Fewer understand what a fully developed brace actually feels like, or what it achieves mechanically.
The basic brace (breathing into the belly, contracting the abs) is a starting point, not a destination. Elite lifters develop a 360-degree pressurisation that fills and stiffens the entire trunk simultaneously: front, sides, and back, all at once, not only the front or the area around the belly button.
When you breathe and brace normally, you may feel your belly push forward and your abs tighten. That's one-directional. When you breathe and brace with elite-level intent, your obliques press outward into your sides, your lower back presses backward into where a belt sits, and your belly still presses forward, all simultaneously. You become, briefly, significantly larger in circumference across your entire midsection. Every direction, every square centimetre of trunk wall, is pressurised.
The mechanical result of this is a fully rigid cylinder, not a rigid front with soft sides. Under compressive load (which is exactly what a squat is) a rigid cylinder transfers force efficiently from the floor to the bar with minimal energy loss. A cylinder with soft spots buckles. Buckling under a max squat is a structural failure, not a technique error. Elite bracing eliminates soft spots.
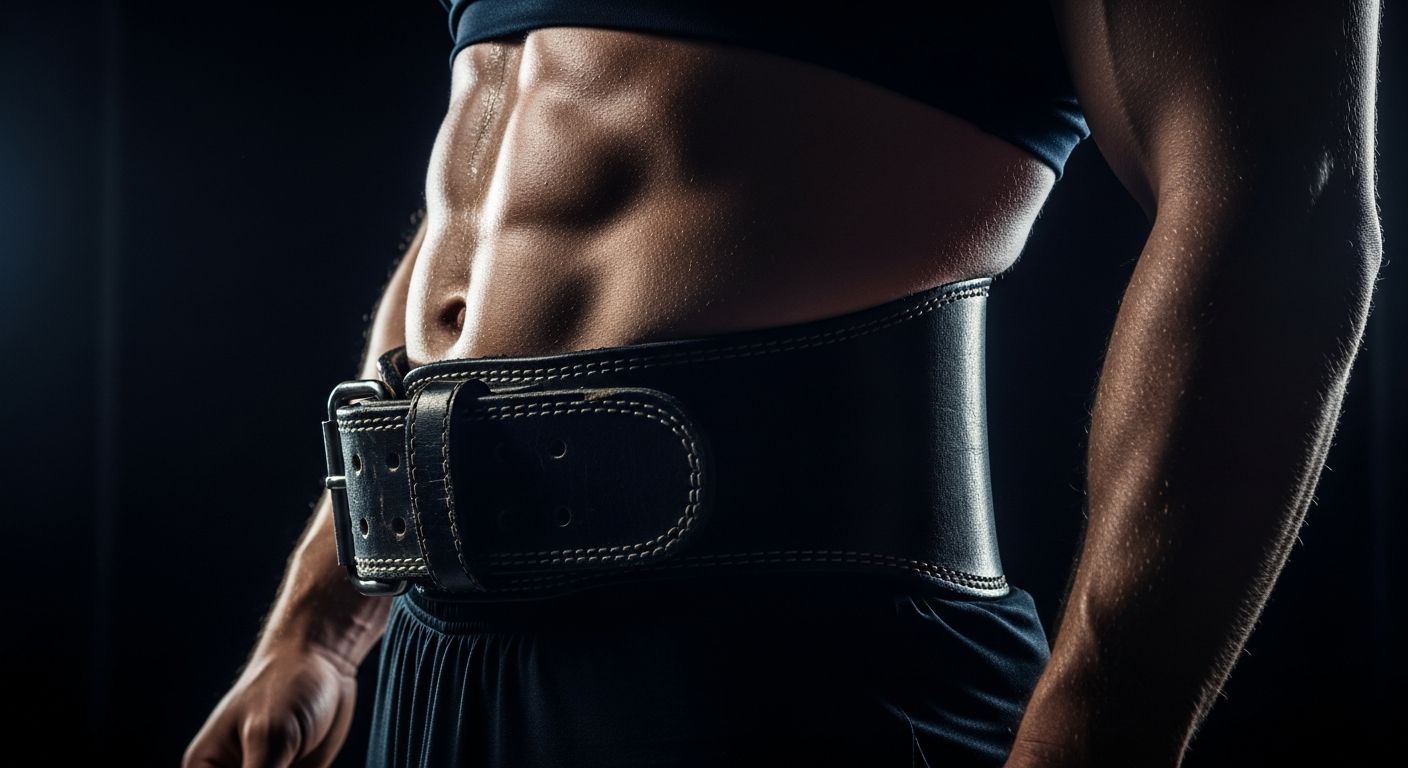
The belt, properly applied, amplifies this. A well-fitted powerlifting belt placed at the right height (covering the bottom of the ribcage to the top of the pelvis) gives the pressurised abdomen something to press into. A lifter with a properly applied belt and a fully developed 360-degree brace will feel the belt tighten on all four sides simultaneously: front, left, right, and into the lower back. That's correct application. If the belt only tightens at the front, the brace is incomplete.
Develop the 360-degree brace without a belt first. It must be there on its own before the belt amplifies it. Then, with the belt, practise pressing into all four sides deliberately until it's automatic.
Lat Engagement: The Hidden Control System
Lats in a squat technique. To a beginner, the latissimus dorsi sounds irrelevant to a lower-body movement.
It isn't. The lats connect the upper arm to the lower back. When they're engaged, they create tension along the entire posterior chain that stabilises the torso, prevents the bar from drifting forward, and maintains the rigid upper back position the brace depends on.
The cue "put your shoulder blades in your back pockets" and the cue "protect your armpits" both aim at the same mechanical result: active lat engagement from the moment the bar is unracked to the moment it's re-racked. Lats engaged means: the bar stays pinned to the back rather than rocking forward on the descent; the torso maintains its angle rather than collapsing; and the brace has a rigid structure to work against through the upper portion of the trunk.
Lats disengaged means the opposite. The bar drifts forward. The torso buckles. The brace is compromised from above. What looked like a brace failure is often a lat failure: the bottom collapsed because the top gave out first.
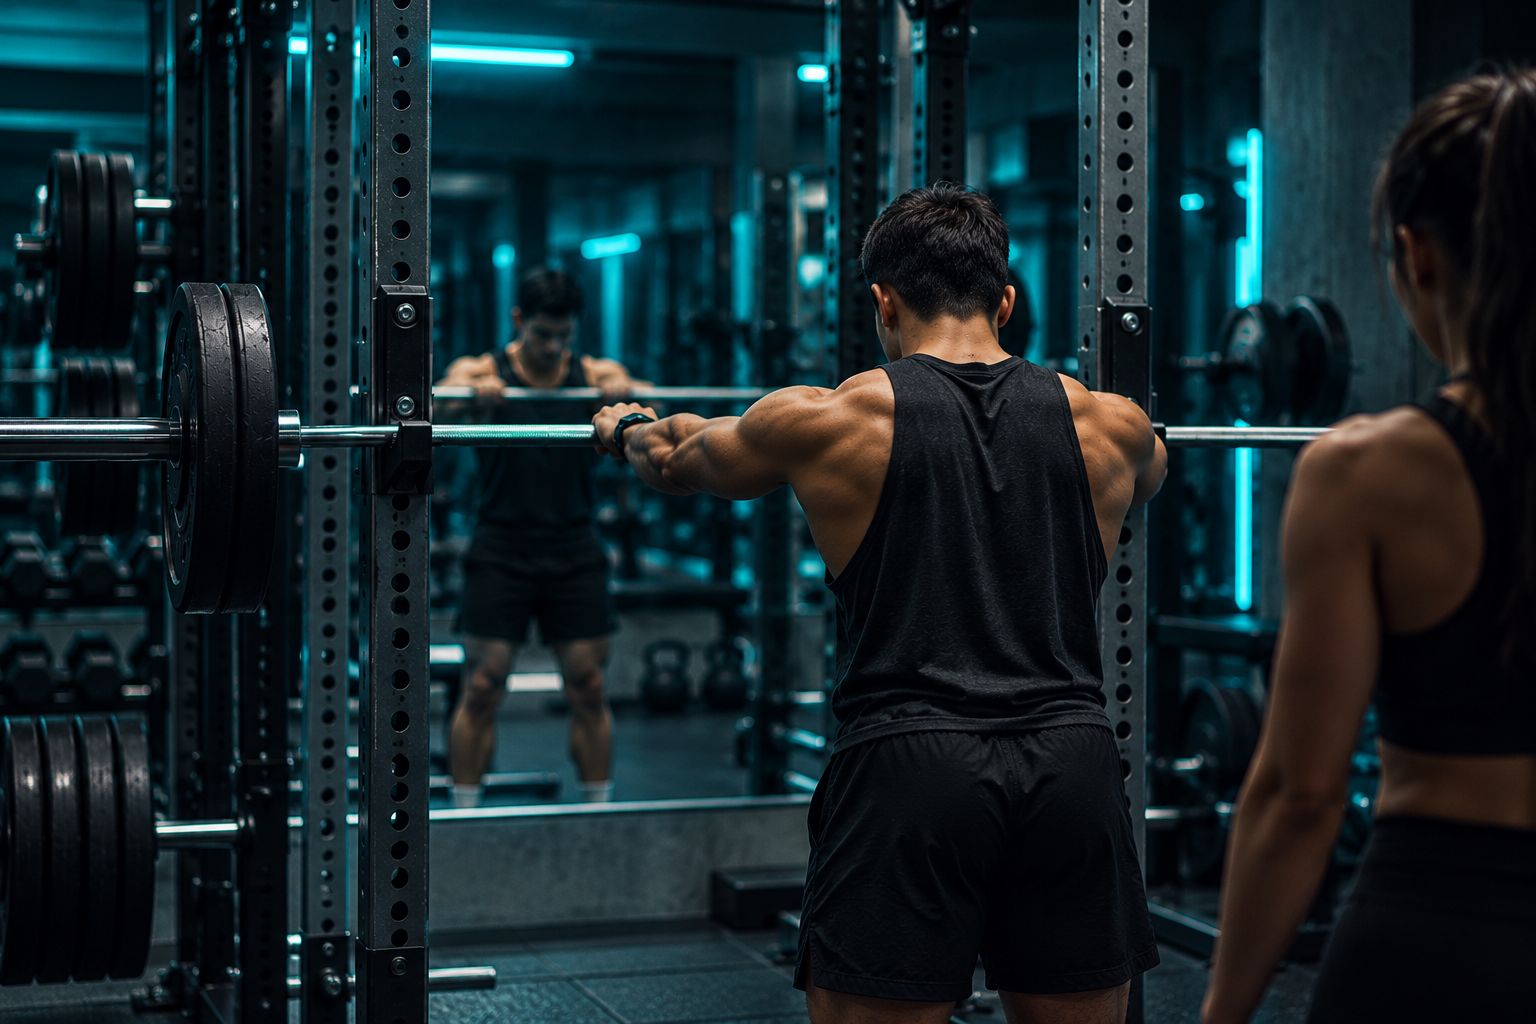
Test it at the rack with an empty bar, bar on your back, ready to walk out. Now consciously engage your lats: pull your shoulder blades down and toward your spine, press your elbows toward each other behind the bar, feel your upper back firm up. Now walk out and hold that tension. Feel how the entire trunk stiffens. That stiffness is more than lat contraction. It's the systemic rigidity that spreads from lat engagement through the thoracic spine, into the brace, down to the lumbar spine, one connected chain.
Develop this on every warm-up set, every technique set, every working set. It should become pre-conscious, something your body does automatically as the bar is placed on your back, before a single deliberate thought about it.
Internal vs External Cues: The Research on What Works Under Load
A coaching cue is an instruction that directs attention. Internal cues direct attention to the body: "tighten your lats," "brace your core," "push your knees out." External cues direct attention to the effect on the environment: "push the floor away," "drive the ceiling up," "push your feet through the platform."
External cues generally produce better movement outcomes than internal cues, particularly under high load and fatigue. When attention is directed outward (to the effect rather than the mechanism) the motor system coordinates more freely and efficiently. Internal cues can interfere with automatic coordination, particularly under maximal load when cognitive resources are already stretched by effort and pressure.
In practice, "Push the floor away" produces a better force expression pattern under a max squat than "extend your knees." "Drive the ceiling up" produces a better ascent than "contract your quads." The body organises itself around the intended effect more efficiently than it does around individual muscular commands.
Elite lifters develop a personal cue system: a small number of cues that, for their body, their technique, and their psychology, produce the best movement under limit loads, rather than a list of internally-focused technique reminders. These cues are often highly individual. A cue that unlocks one lifter's squat may do nothing for another. The process of developing a personal cue system involves systematic testing: identifying which cues produce the best movement quality in filmed sessions, particularly at 85–95% of maximum, where the cue must survive genuine effort to be useful.
Build your cue system on what works for your body under real load. Test it. Film it. Keep what works. Discard what does not.
Paused Squats: The Diagnostic and the Developer
The stretch reflex is a mechanical cheat. When you descend into the squat and immediately reverse (using the elastic recoil of the muscles and tendons in the bottom position) you get assistance from that stored energy. It makes the first part of the ascent easier than it would be from a dead stop. For high-volume training, this is fine. For developing true positional strength in the bottom position, it masks weakness.
Paused squats remove the stretch reflex. You descend, reach the bottom, stop completely for a prescribed count, and then drive up from a dead stop with no elastic assistance whatsoever. The weakness that your bounced squats were hiding is now fully exposed. If your brace was not actually locked in the bottom, the pause reveals it. If your knee position drifts in the hole, the pause gives you two seconds to observe it and feel it. If your bottom position is genuinely strong, the pause simply confirms it.
Paused squats are diagnostic: they show you the quality of your hole. They're also developmental. Repeatedly building force from a dead stop in the bottom position develops the specific strength and neural efficiency that's required when, in a competition squat, the bar comes down slowly, depth is held for judge confirmation, and the ascent begins from the most mechanically disadvantaged position in the lift.
Programme paused squats at 60–75% of your competition squat maximum. A 2-second pause is standard for most purposes, long enough to eliminate stretch reflex benefit, short enough to allow genuine force production on the ascent. Three seconds exposes more weakness and is valuable periodically. Treat paused squats as a separate exercise in your training plan. Don't simply add them as a variant of your regular squat: the stimulus is different enough to warrant their own prescribed intensity, volume, and progression.
Common Squat Faults & How to Fix Them
Tempo Work: Eccentric Training as Neural Education
A 3-second descent at 70% of maximum is not the same as a normal-tempo descent at the same weight. Slowing the eccentric phase (the lowering) transforms the exercise into a different kind of training stimulus.
Controlled eccentric work develops proprioception: the awareness of where your body is in space, at every point in the range of motion. At competition weight, the descent happens fast, too fast for conscious correction of mid-descent faults. But the nervous system knows where it is because it has been trained, through slower descents, to have finely calibrated positional awareness at every degree of the movement. Tempo work is how you build that calibration.
Eccentric control also develops eccentric strength: the capacity of the muscles to produce force while lengthening, which is what happens on the way down. Eccentric strength is trainable and has direct carryover to the concentric strength that follows. A lifter with strong eccentric capacity arrives at the bottom position in better control, with more muscular tension available for the reversal, than a lifter who crashes or simply drops into depth.
Programme tempo squats once per training week during general preparation phases: 3-second descent, no pause, normal ascent, 70–75% of maximum. Three to four sets of four to five reps. This is a precision and awareness builder, not a primary strength builder. Use it when your technique needs refinement or when you're returning from a period of reduced training and want to re-establish positional awareness before loading aggressively.
Specialty Bars: Tools That Build What a Straight Bar Cannot
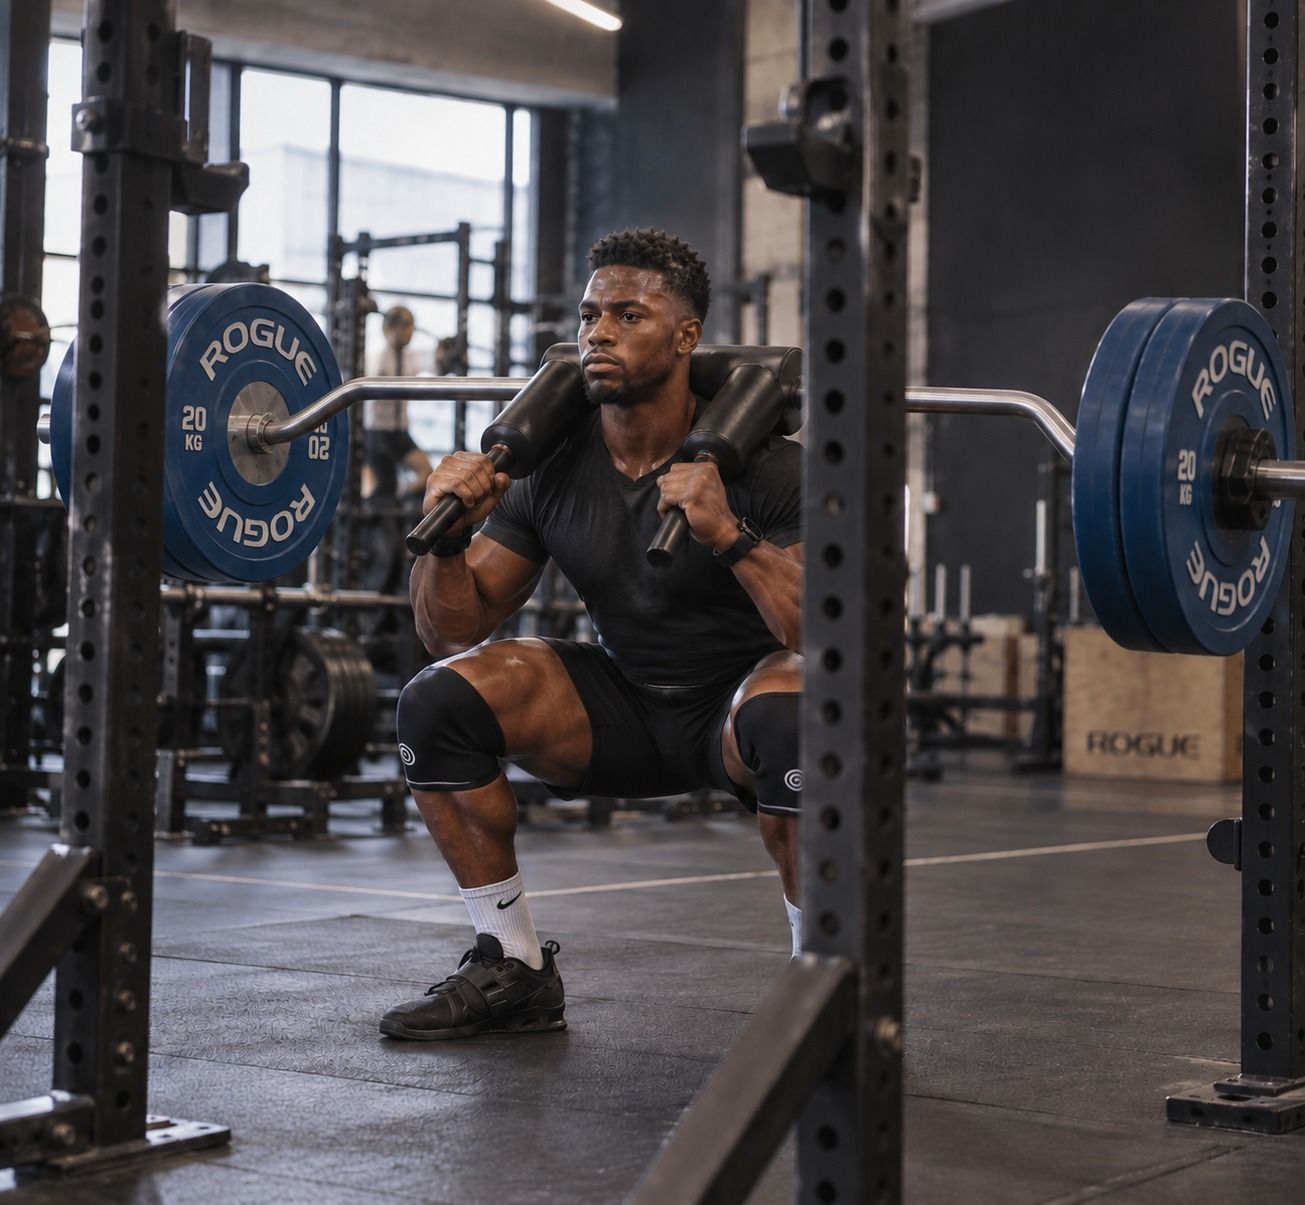
The Safety Squat Bar (SSB): The SSB has a cambered yoke that positions the load in front of the lifter's shoulders. The camber pulls the lifter forward throughout the movement, creating a constant upper back challenge that a straight bar does not produce. The lifter must fight to stay upright on every descent, which means the upper back erectors and the thoracic extensors are working at maximum demand on every rep. The result is significant upper back strength development that transfers directly to the straight bar squat's positional demand.
The SSB also has handles that the lifter grips in front of the body. This eliminates the shoulder and wrist flexibility demand of a straight bar, making it an excellent tool for lifters with shoulder injuries or limited shoulder external rotation. A lifter who cannot comfortably hold a straight bar in a low or high bar position can often train heavy, quality squats with an SSB without pain.
The Cambered Bar: The cambered bar has hanging sleeves, where the weight plates are suspended below the bar at the end of angled arms. Because the plates hang below the bar, they oscillate laterally during the lift. The lifter must maintain a brace that is rigid and actively responsive to oscillation. The dynamic demand on the brace is significantly greater than with a straight bar. Lifters who regularly train with a cambered bar develop a brace quality that feels, when they return to a straight bar, almost effortless by comparison. The belt tightens, the trunk stiffens, and the straight bar feels stable in a way it previously did not.
Neither specialty bar is a replacement for the straight bar in competition preparation. Both are accessory tools that develop specific qualities (upper back strength from the SSB, brace resilience from the cambered bar) that the competition lift benefits from.
Third Attempt Strategy: The Maths of Total
Competition powerlifting is about the total, not individual lifts: the sum of the three heaviest successful attempts in the squat, bench press, and deadlift. This changes how every lift, especially the squat, should be approached at a meet.
The maths are simple and frequently ignored by lifters approaching their first meets. A made third attempt in the squat adds that weight to your total. A missed third attempt adds nothing. It costs you the energy expenditure of the attempt, the psychological momentum of a miss, and potentially the timing and warm-up quality of your subsequent bench press attempts.
The calculation of a conservative third attempt in the squat is strategy, not timidity. A third attempt at 95% of your maximum (well within your demonstrated capability at that weight) builds a total from a position of confidence. A third attempt at 102% of your maximum (a true max) is a gamble. If it makes, the total is maximised. If it misses, the total is the same as if you had never attempted it, and you enter the bench press phase carrying a failed lift.
Elite lifters treat the meet as a whole. They understand that the deadlift is the last event, and that arriving at the deadlift with confidence, physical reserve, and a complete squat and bench in the books gives them the platform to express their true deadlift strength. A heroic third squat attempt that results in a red light can cost more in the deadlift (through fatigue, psychological disruption, and timing disruption) than the weight it would have added to the total.
Take conservative openers. Build confidence. Make your second attempts. Evaluate the third on the basis of the total, not the glory of the lift in isolation.
Command Timing: Own the Platform
The squat judge signals when to descend. The signal (a downward hand motion or audible command) is given only when the lifter is visibly still at the top, bar balanced, brace set, in complete control. The judge does not give the command until they see that stillness.
Practically, there is no rush to begin the descent. A lifter who walks out and immediately descends before the command is given (which happens with new competitors more often than experienced ones) will be red-lighted for failure to respond to the command. Beyond the rules mechanics, the platform belongs to the lifter from the moment they step on it to the moment they step off. Own that time.
Walk out. Three steps. Set the stance. Lock the brace. Breathe. Look straight ahead. Be still. Let the lift come to you. The command will follow stillness. Experienced lifters are never rushed by the command: they're waiting for it, already prepared, already in the position from which they could begin the descent at any moment.
This composure is technique, not performance. The still, composed top position after the walkout is the same position that produces a controlled descent. A lifter who rushes the walkout rushes the descent. A lifter who owns the stillness at the top owns the bottom. The platform rewards composure with kilograms.
Squat Technique Essentials: The Blueprint Behind Every Big Squat
Key Takeaways
360-degree pressurisation (front, sides, and lower back simultaneously) creates a rigid cylinder with no soft spots. If your belt only tightens at the front, your brace is incomplete.
Lat engagement from unrack to re-rack prevents the bar drifting forward on the descent and maintains the upper back rigidity the brace depends on.
External cues outperform internal cues under maximal load. Build a personal cue system tested at 85–95% of maximum, not at comfortable weights.
Paused squats at 60–75% are both diagnostic (exposing bottom position weakness) and developmental (building force production from a dead stop). Treat them as a separate exercise.
Third attempt strategy is total maths, not ego. A conservative made third beats a missed PR attempt in every calculation that matters.
Put It Into Practice
This week: Add paused squats to your next session: 60–65% of your working max, 2-second pause, three sets of three reps. Film from the side. Observe your brace quality and knee position during the pause: if either degrade during the two seconds, you have just identified what your bounce-and-go squats were concealing.
This training block: Introduce the SSB or cambered bar for one squat session per week for the next eight weeks. Use it as a secondary squat movement after your primary straight bar work. Notice what it exposes (upper back fatigue, brace instability) and address those qualities specifically in your accessory work.
Long term: Build your personal cue system deliberately. For the next six months, test one or two cues per training cycle: film your working sets and evaluate whether the cue produces measurable improvement in bar path, positional control, or ascent speed. Keep only the cues that survive 90% intensity. The system you develop over years of this process will be the difference between you and the lifters who rely on generic coaching language that was not designed for their body or their psychology.
Analysed by FINAL FORM AI. Your form, perfected.
References
- 1Escamilla RF. 'Knee biomechanics of the dynamic squat exercise.' Med Sci Sports Exerc. 2001. PMID: 11194098
- 2Wulf G, McNevin N, Shea CH. 'The automaticity of complex motor skill learning as a function of attentional focus.' Q J Exp Psychol A. 2001. PMID: 11765737
- 3Glassbrook DJ, Helms ER, Brown SR, et al.. 'A review of the biomechanical differences between the high-bar and low-bar back-squat.' J Strength Cond Res. 2017. PMID: 28570490
- 4Bloomquist K, Langberg H, Karlsen S, et al.. 'Effect of range of motion in heavy load squatting on muscle and tendon adaptations.' Eur J Appl Physiol. 2013. PMID: 23604798
- 5Schoenfeld BJ. 'Squatting kinematics and kinetics and their application to exercise performance.' J Strength Cond Res. 2010. PMID: 20182386