Common Squat Faults & How to Fix Them
Eight faults. Eight causes. Eight fixes.
By Dhiren Dunraj MSc
Key Insight
“The body compensates invisibly. By the time you can feel the fault, it has already been grooved for months.”
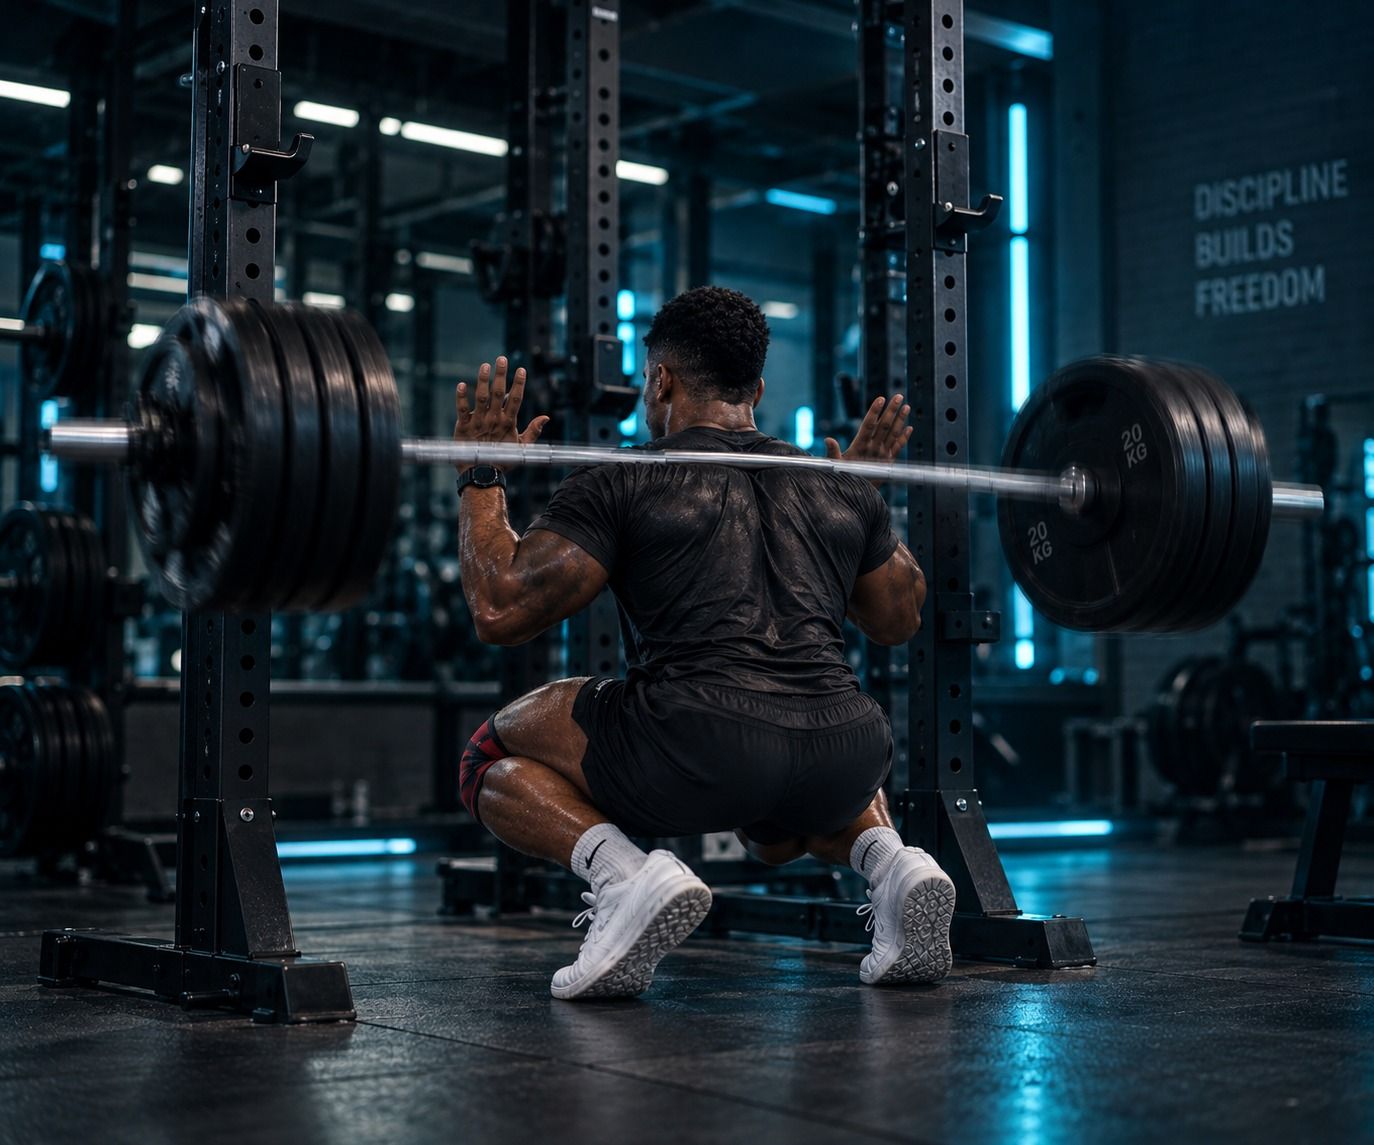
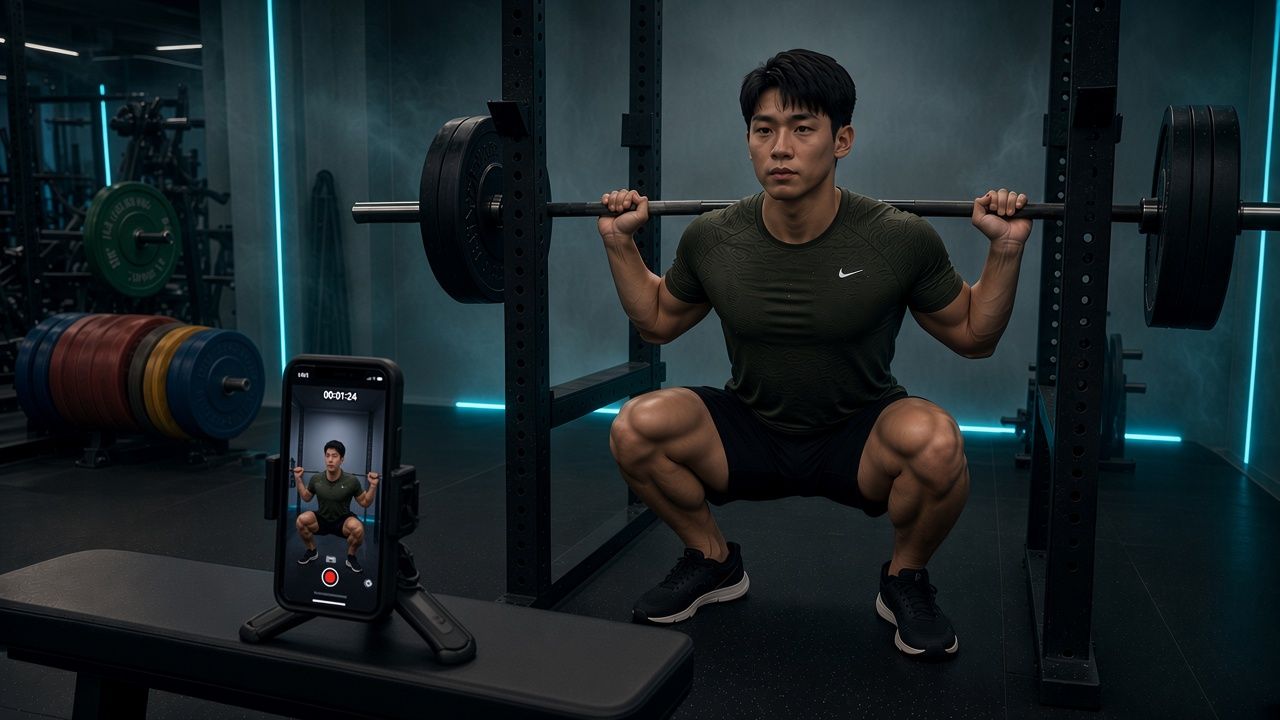
FINAL FORM AI sees faults you cannot feel, because the body compensates invisibly until the weight gets heavy enough that it cannot. At 60% of your max, your form holds. At 80%, it starts to slip. At 95%, every compensation you have ever built into your movement reveals itself simultaneously. And by then, the compensation is so deeply grooved that it takes months of intentional, filmed, analysed work to undo. Read this as a diagnostic first. Then film yourself. Then fix. Don't guess, because the camera doesn't lie, and your proprioception does [1].
Each fault below is structured as a diagnostic: what it looks like from outside the body, what causes it at the root, and what actually fixes the cause rather than the symptom.
The Eight Faults
FAULT: THE GOOD MORNING SQUAT
The Fault: From the side, the camera shows the lifter's hips rising out of the hole faster than the chest. The torso angle increases (becomes more horizontal) on the way up. What started as a squat now looks like a Romanian deadlift or a good morning exercise at the top. The bar path tips forward over the toes. The back is working. The legs aren't squatting, they're standing up underneath a bent torso.
The Cause: The primary cause is a quad strength deficiency relative to the load. The quads drive knee extension in the first portion of the ascent. When they're not strong enough to maintain torso position, the hips shoot back and up to place the load on the posterior chain (the glutes, hamstrings, and lower back), which are more capable of extending from that position. The secondary cause is poor positional awareness in the hole: when a lifter does not know where their chest is relative to their hips, they cannot correct the fault in real time.
The Fix: The cue is "chest up" on the ascent, not "stand up" or "drive through your heels." Drive your chest. The intent forces the torso and hips to rise as a unified system, preventing the hip lead. At the same time, address the quad weakness. The fault is being caused by an engine deficiency, not just a cue problem.
The Drill: Paused squat technique work at 60–65% with a deliberate 2-second pause in the bottom position, followed by a controlled ascent with a "drive the chest" intent. The pause eliminates the stretch reflex assistance, exposing quad weakness directly. Film every set.
FAULT: KNEE CAVE / VALGUS COLLAPSE
The Fault: From the front, the camera shows the knees tracking inward (toward each other) on the descent, at the bottom, or on the way up. In mild cases, you'll see a slight inward drift as the lifter leaves the hole. In severe cases, the knees collapse dramatically inward through the entire bottom position and first third of the ascent. Valgus collapse under load is a ligament stress event, not a style point: the medial structures of the knee are under tensile force they're not designed to sustain repeatedly under hundreds of kilograms.
The Cause: Two primary causes. First, glute medius and glute maximus weakness. The hip abductors and external rotators responsible for keeping the femur in proper alignment are not producing sufficient force to resist the adductor pull under load. Second, anatomical stance mismatch: a stance too narrow for the lifter's hip anatomy creates an inward-directed force at the knee that the glutes cannot overcome.
The Fix: Push the knees out hard before and throughout the entire movement. The cue "knees out" or "spread the floor" is correct, but the timing matters: initiate the outward knee push before you begin the descent, and maintain it through the bottom and all the way to lockout. If the stance is too narrow, widen it. Both fixes may be needed at the same time.
The Drill: Banded goblet squats. A light resistance band placed just above the knees creates constant adductor pull, and the lifter must actively fight the band throughout the movement. This directly trains the glute medius engagement pattern. Three sets of ten before every squat session for four weeks. Apply the drill consistently and the improvement is rapid.

FAULT: BUTT WINK
The Fault: From the side, the camera shows the pelvis rotating posteriorly (tucking under) at the bottom of the squat. The lower back rounds. The natural lumbar curve reverses. In mild cases, this appears as a subtle flattening of the lumbar spine in the final degrees of depth. In severe cases, the lumbar spine flexes significantly under load at the exact moment the compressive forces are highest.
A critical distinction: a slight pelvic tuck in the last few degrees of depth, for a lifter with good hip mechanics otherwise, is often anatomically normal and clinically manageable. Severe butt wink (visible lumbar flexion under significant load) is a different situation. It places the intervertebral discs in a compromised position under compression and shear. Repetitive loading in this position is how disc injuries happen.
The Cause: Two distinct causes that produce the same visible fault. First: bony impingement, where the femoral head contacts the acetabular rim before depth is reached, forcing the pelvis to posteriorly tilt to allow further range of motion. The fix here is stance, not stretching. Second: hamstring and hip flexor flexibility limitation, where insufficient posterior chain length prevents the pelvis from remaining neutral at depth. This cause responds to mobility work.
The Fix: If the butt wink disappears when the stance is widened, it's a stance/impingement issue: widen the stance and adjust toe angle. If it persists across all stance widths, address hamstring and hip flexor mobility through consistent, targeted work. Separate the diagnosis before selecting the fix.
The Drill: For the mobility-based cause: 90/90 hip stretches and couch stretch held for 2 minutes each side, daily. For the stance-based cause: goblet squat stance-finding protocol: widen until the butt wink disappears, then build your working stance from that position.
FAULT: EXCESSIVE FORWARD LEAN
The Fault: From the side, the camera shows the torso leaning forward beyond what the lifter's anthropometry requires. The bar drifts in front of the mid-foot. The lifter looks like they're performing a good morning from the start of the descent rather than from the ascent. This is not the same as the normal forward lean of a low bar squat. Low bar forward lean is mechanically correct and anatomically appropriate. This fault is lean that produces a forward bar path, where the bar moves toward the toes rather than tracking vertically over the mid-foot.
The Cause: Most commonly, upper back weakness. The erectors and upper back musculature cannot maintain a rigid torso against the load, so the bar gradually shifts forward as the torso buckles. Secondarily, brace failure: if intra-abdominal pressure is insufficient, the torso collapses under the compressive load at depth.
The Fix: Treat it as an upper back and brace problem simultaneously. First, ensure the brace is fully locked before the descent begins and maintained through the bottom. Second, address upper back strength directly. The cue on the descent: "big chest" or "protect your armpits," which both create upper back tension that resists forward collapse.
The Drill: Good mornings: light barbell across the upper back, hinging from the hip with a rigid torso. This trains the exact erector strength and positional awareness needed to maintain torso angle under a bar. Three sets of eight to ten at a controlled tempo, twice per week.
FAULT: HEEL RISE
The Fault: From the side, the camera shows the heel leaving the platform at or near the bottom of the squat. The weight shifts onto the forefoot and toes. The base of support narrows. The lifter compensates by leaning further forward or by pushing the knees further inward to maintain balance. At significant loads, a heel lift at depth is a stability catastrophe waiting to happen.
The Cause: In most cases: insufficient ankle dorsiflexion range of motion. The ankle cannot flex far enough to allow the shin to travel forward while keeping the heel grounded. In some cases: stance width is too narrow for the hip anatomy, creating a positional constraint that forces the heel up to allow depth. In others: bar position is too high, requiring excessive shin forward travel that exceeds ankle range.
The Fix: Address ankle dorsiflexion mobility directly. Heels that rise due to mobility limitation improve with consistent, targeted ankle work over weeks and months. For immediate training, a small heel elevation (a 5kg plate under the heels, or heeled lifting shoes) reduces the dorsiflexion demand and allows quality squat training while the mobility is developed. This is a bridge, not a permanent solution.
The Drill: Ankle dorsiflexion wall slides: stand facing a wall, foot 10cm away, drive the knee toward the wall while keeping the heel on the floor. When the knee touches the wall, move the foot back 1cm further. Repeat daily. Measure progress weekly. Combined with split squats performed with emphasis on heel contact, mobility improves reliably over a 6–8 week period.
FAULT: CAVING DEPTH
The Fault: From the side, the camera shows the hip crease failing to pass below the top of the knee. The lifter believes they're reaching depth (it feels like depth) but the video shows otherwise. Sometimes it's a few centimetres short. Sometimes it's significantly above parallel. The discrepancy between perceived and actual depth is one of the most consistent findings when lifters film themselves for the first time.
The Cause: Three distinct causes. First: mobility limitation, hip, ankle, or combined, preventing full depth mechanically. Second: stance mismatch, a stance that produces bony impingement before depth is reached. Third: a fear response or unconscious self-protection, where the lifter arrests the descent slightly above depth, particularly with heavier loads, without consciously intending to. The third cause is common and underacknowledged.
The Fix: Film from the side, every set, every session, until depth is consistently achieved and you have verified it with video rather than assumed it with proprioception. For mobility-based causes, address the limitation specifically (ankle or hip, as diagnosed). For fear-based causes: box squats set at or just below parallel. The box removes the fear of going too low: you sit to it, you know where the target is, and you build confidence at depth under load.
The Drill: Box squats: set a box or bench at a height where the hip crease reaches just below parallel. Sit to the box under control, pause for one full second (no bounce), then drive up. This teaches depth as a known position rather than an estimate. Four sets of five at 65–70% weekly until depth is automatic.
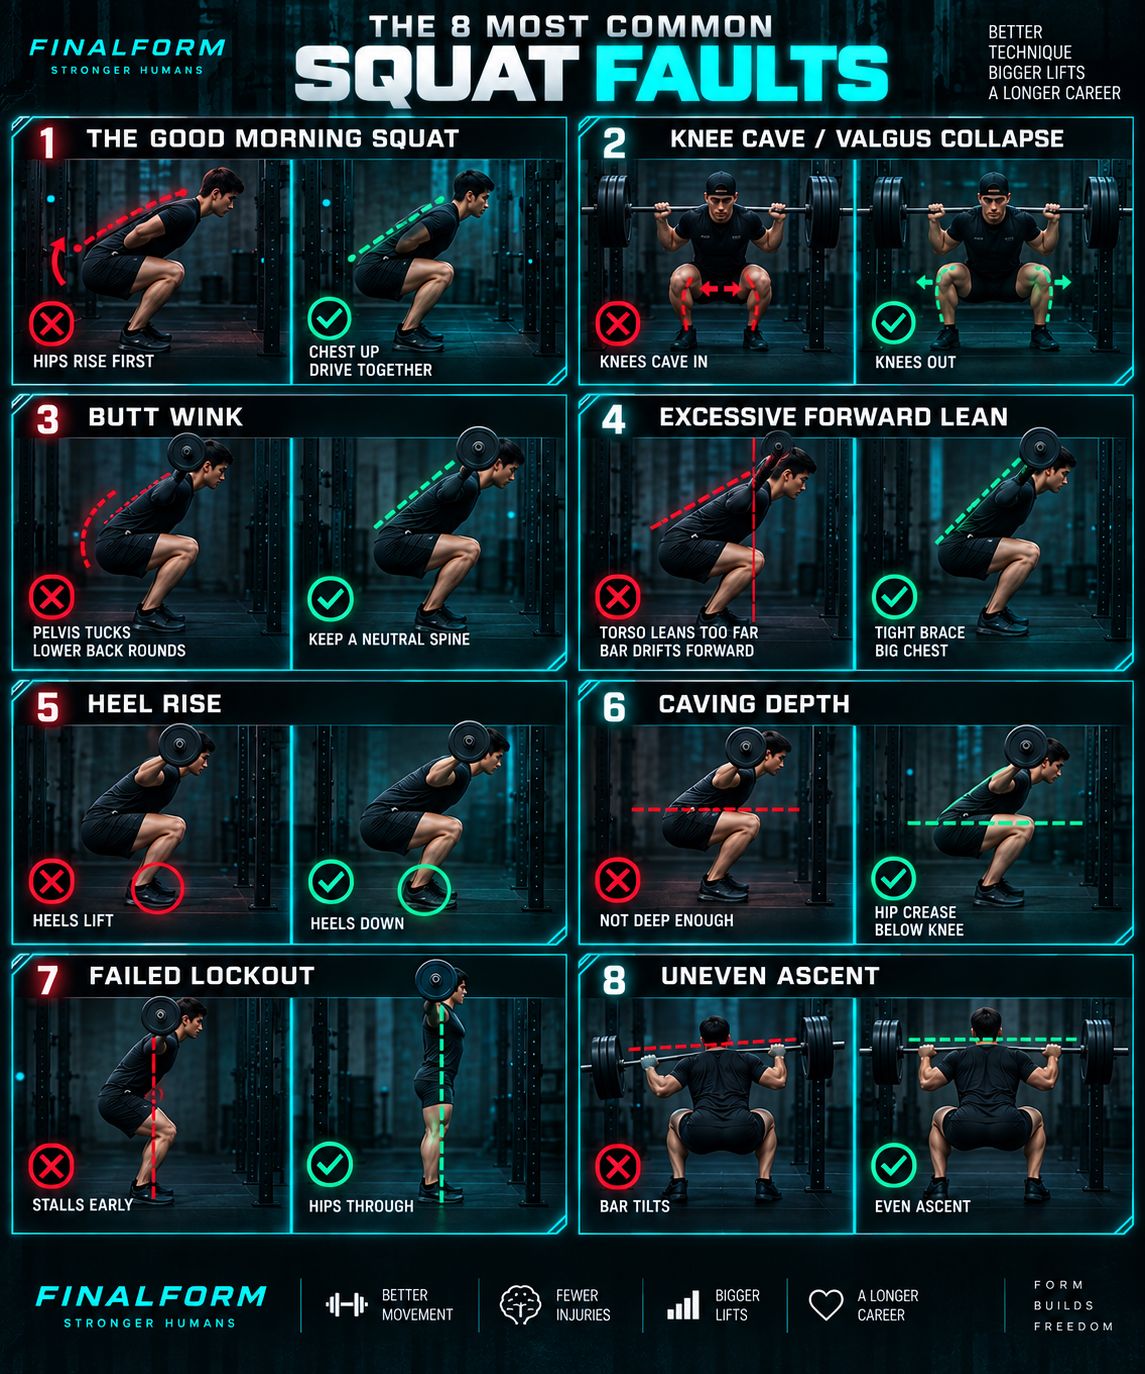
FAULT: FAILED LOCKOUT
The Fault: From the side, the camera shows the lift stalling in the top third of the ascent. The lifter grinds or fails with the bar somewhere between three-quarters height and full extension. The knees may be partially bent, the hips not yet through, the torso still inclined forward. The lift either grinds to completion with a near-miss or fails entirely. On video, a lift not brought to complete extension is obvious.
The Cause: Two causes. First: quad weakness, where the final degrees of knee extension demand significant quad force, and if the quads are the limiting factor, the lift stalls before lockout. Second: a technical error on the ascent where the lifter begins leaning forward in the top portion, shifting from a vertical drive into a forward lean that moves the bar in front of the centre of gravity, removing mechanical advantage at the worst possible moment.
The Fix: For the technical cause: the cue "hips through" at the top of the lift, and explicit practice of the lockout position. Actively practise standing to full extension on every rep: don't drift into lockout, drive into it. For the strength cause: address quad development directly with accessory work.
The Drill: Pin squats: set safety pins at the height equivalent to the sticking point (approximately three-quarter squat). Start the lift from the pins, no descent, just drive from the sticking position to lockout. This trains the specific range of motion where the failure occurs. Three sets of three at 80% weekly.
FAULT: UNEVEN ASCENT
The Fault: From the front or rear, the camera shows the bar tilting laterally as the lifter rises, one side higher than the other. One hip rises faster. The bar rotates. Under load, this creates a lateral bar path that shows on video as a loss of control. In training, it signals a compensatory movement pattern that compounds under load.
The Cause: Two primary causes. First: bilateral strength asymmetry, where one leg is generating more force than the other, causing the stronger side to rise faster. This is extremely common and is often the legacy of an old injury, a previous compensation, or simply differential training volume. Second: technical error, where the lifter twists, shifts weight to one side, or favours one hip on the ascent due to hip mobility asymmetry.
The Fix: Unilateral work to address the strength asymmetry. Identify the weaker side (it's typically the side that stays lower) and bring it up through targeted single-leg training. Meanwhile, film bilateral squats and assess: if the asymmetry is visible at 70%, it will be significant at 90%.
The Drill: Bulgarian split squats: rear foot elevated, front leg loaded with dumbbells or a barbell. Three sets of eight per side, twice per week. The bilateral deficit exposed in split squats directly reveals and addresses the strength imbalance. Pair with front-camera filming of regular squats to monitor the bar tilt improvement over the training block.
Squat Technique Essentials: The Blueprint Behind Every Big Squat
Key Takeaways
Film every session. Proprioception is unreliable under load, and the most common faults are the ones you cannot feel.
The good morning squat and failed lockout are both strength deficiency problems wearing a technique costume. Cues help, but accessory work fixes them.
Knee cave and heel rise both have mobility-based and anatomy-based causes. Diagnose before you prescribe.
Butt wink requires distinguishing between a bony impingement issue (fix: stance) and a mobility issue (fix: stretching) before any intervention is applied.
Uneven ascent is almost always a bilateral strength asymmetry. Unilateral training is the fix, and the sooner it's identified, the less it compounds.
Put It Into Practice
This week: Film one squat session from the side and one from the front. Identify the single most obvious fault in your footage. Don't try to fix three things at once: select the most mechanically significant fault and apply its specific drill for the next four weeks before evaluating the next one.
This training block: Add the relevant drill for your identified fault to every training session for the next four to six weeks. Faults that are structural (strength-based) take a full training block to meaningfully improve. Be patient with the timeline and consistent with the drill.
Long term: Build the habit of filming and reviewing your own footage. The lifters who improve fastest are the ones who identify and address faults systematically, one at a time, over years of honest self-assessment, not the ones with the fewest faults. The camera is the most valuable coaching tool you have access to. Use it.
Analysed by FINAL FORM AI. Your form, perfected.
References
- 1Escamilla RF. 'Knee biomechanics of the dynamic squat exercise.' Med Sci Sports Exerc. 2001. PMID: 11194098
- 2Fry AC, Smith JC, Schilling BK. 'Effect of knee position on hip and knee torques during the barbell squat.' J Strength Cond Res. 2003. PMID: 14636100
- 3Hartmann H, Wirth K, Klusemann M. 'Analysis of the load on the knee joint and vertebral column with changes in squatting depth and weight load.' Sports Med. 2013. PMID: 23821469
- 4Schoenfeld BJ. 'Squatting kinematics and kinetics and their application to exercise performance.' J Strength Cond Res. 2010. PMID: 20182386
- 5Cotter JA, Chaudhari AM, Jamison ST, et al.. 'Knee joint kinetics in relation to commonly prescribed squat loads and depths.' J Strength Cond Res. 2013. PMID: 23085977
- 6Hackett DA, Chow CM. 'The Valsalva maneuver: its effect on intra-abdominal pressure and safety issues during resistance exercise.' J Strength Cond Res. 2013. PMID: 23222073