How to Deadlift 101: The Most Honest Lift You Will Ever Train
Two stances. One principle. The deadlift rewards nothing but effort and technique.
By Dhiren Dunraj MSc
Key Insight
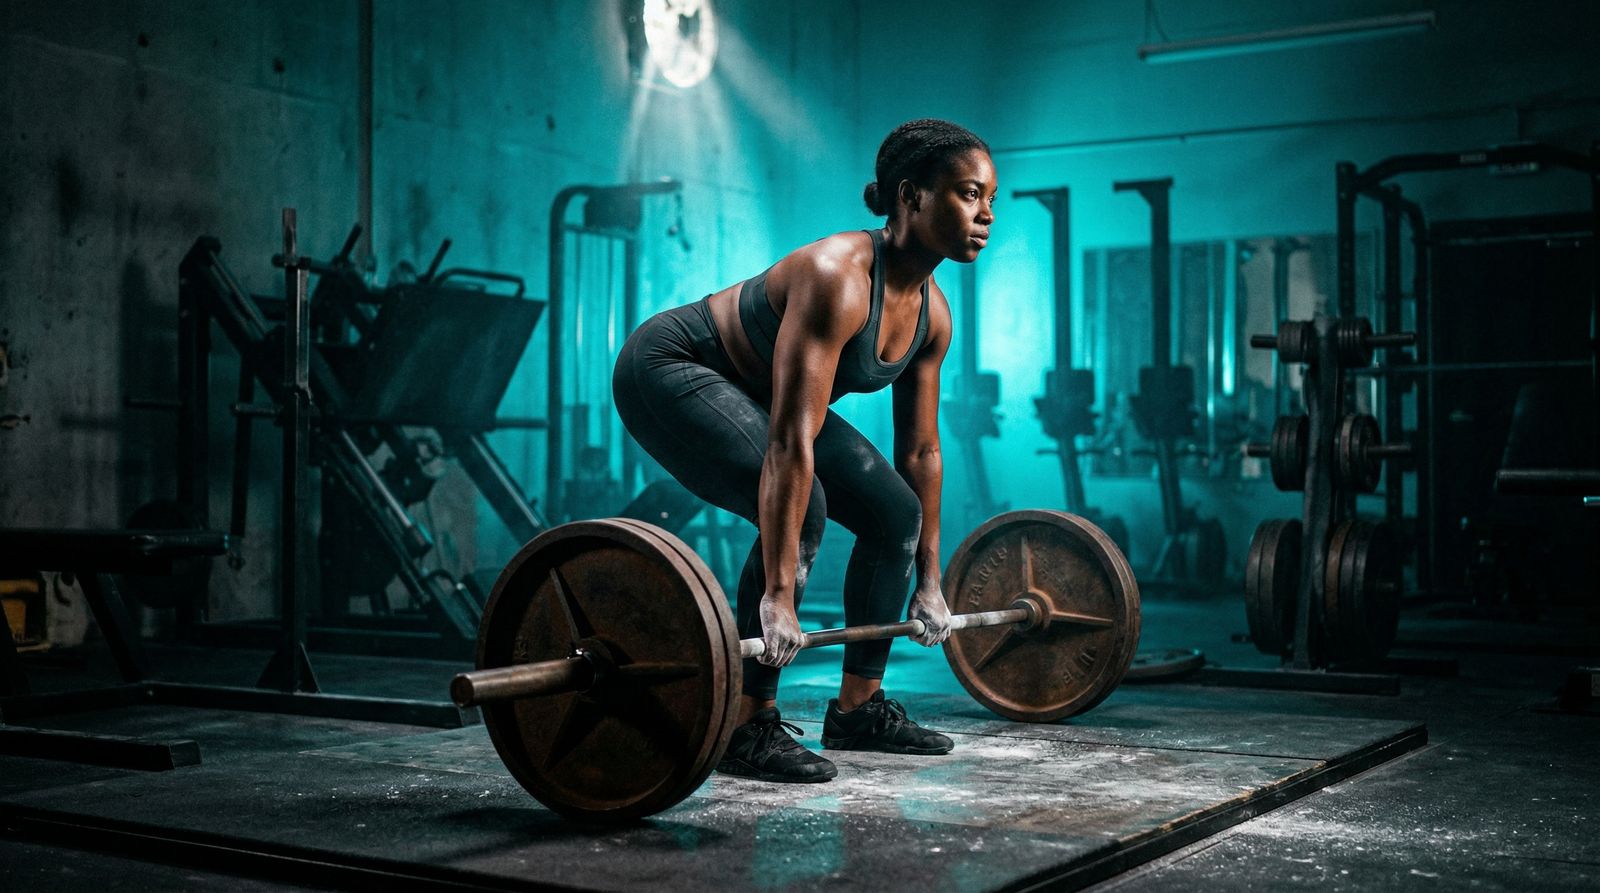
“The deadlift is the most honest lift in the sport. You pick the bar up off the floor. It either comes up or it doesn't. There is no bounce, no partner lift-off, no eccentric descent to warm you up. Just you, the iron, and the question of what you're actually capable of.”
Walk into any gym and you'll see people squatting, pressing, curling. But the people at the deadlift platform (the ones pulling from the floor with real intention) tend to know something the others don't. The deadlift is different. It does not flatter you. It does not allow you to rack it early or cut depth and pretend. The bar is on the floor. You lift it. Every kilogram you add is a kilogram you have genuinely earned.
This guide is your foundation, the blueprint for pulling correctly from session one. Read it before you touch the bar. Then let your body learn what your mind already knows.
Conventional vs Sumo: Two Stances, One Standard
Before you set up, you need to know which stance you're using. There are two primary deadlift stances, conventional and sumo, and both are legitimate. Neither is superior. The mechanics of your hip socket will ultimately guide you toward one or the other [1].
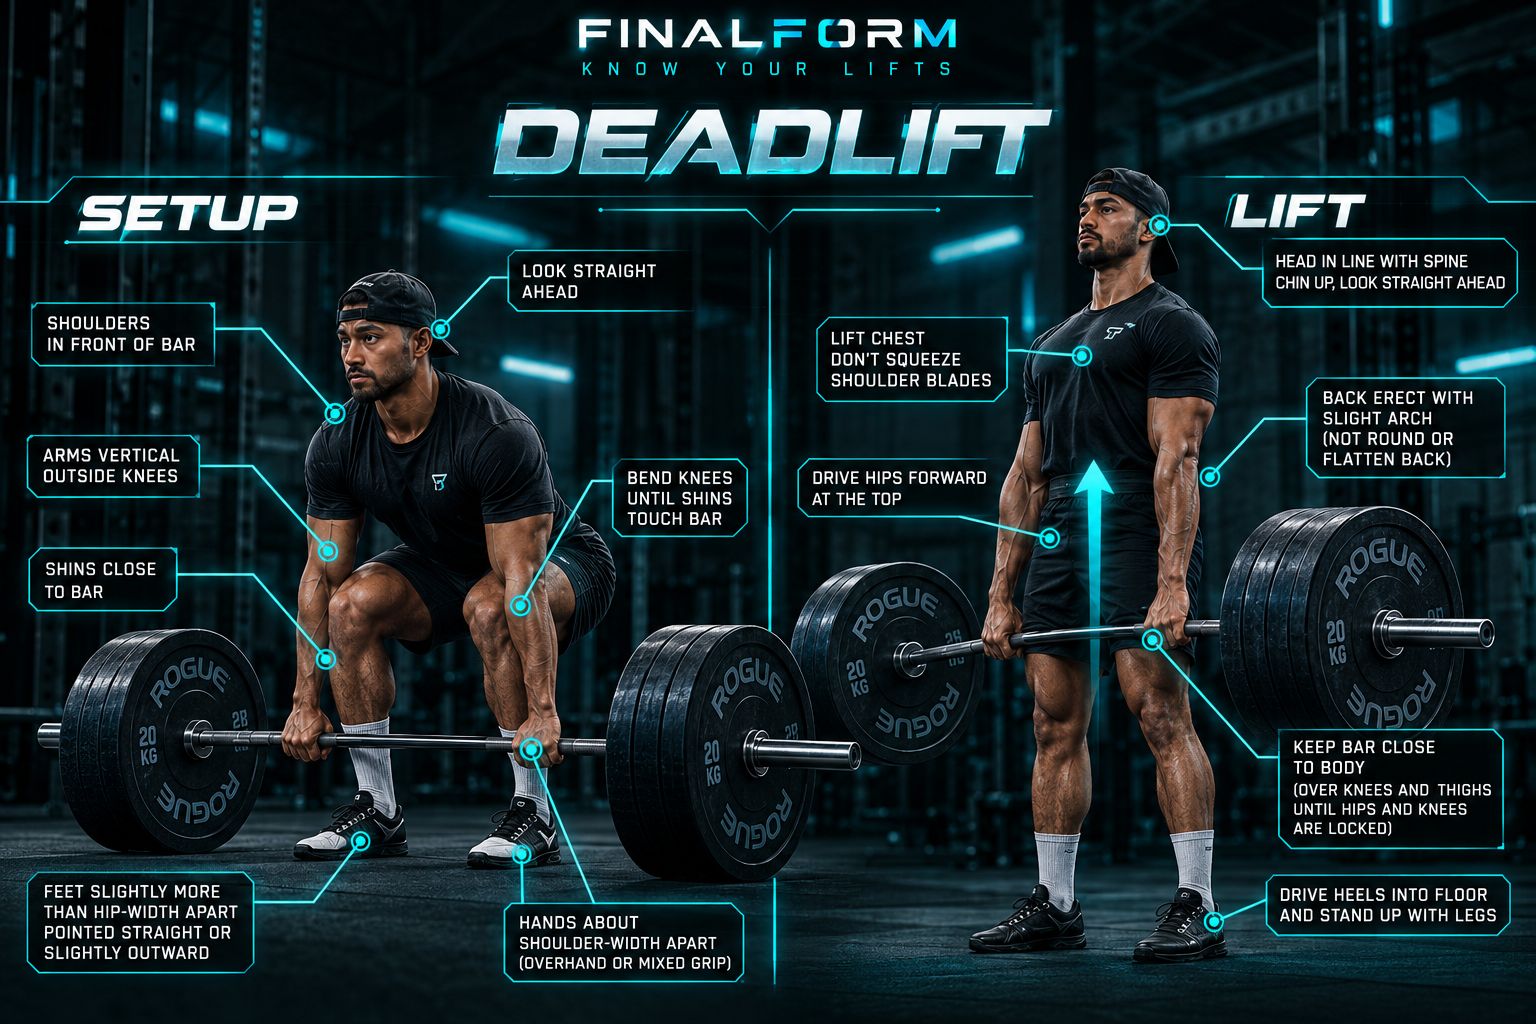
Conventional: Feet at hip-width, pointing forward or turned out slightly (5–15 degrees). Hands grip the bar outside the legs. This is where most beginners start. It requires less hip mobility, builds posterior chain strength directly, and is the most intuitive starting position for the movement.
Sumo: Wider stance, toes turned out significantly, hands gripping inside the legs. The sumo stance demands more hip external rotation mobility and tends to suit lifters with specific proportions, particularly those with longer torsos and shorter limbs. A shorter range of motion is often cited as a sumo advantage, though this depends heavily on individual anatomy.
For now: start conventional. Learn the movement pattern. As you build experience, experiment with stance width if conventional feels mechanically wrong for your proportions. The biomechanics article covers this distinction in depth.
Bar Placement: The Most Important Cue in the Deadlift
Before your hands touch the bar, the bar must be in the right place.
Mid-foot: not at your toes, not against your shins, but directly over the mid-foot, roughly where your shoelaces tie. This is the single most important position in the entire lift, and most beginners get it wrong by placing the bar too close to their shins before they've set up.
The bar must travel vertically, straight up from the floor to lockout. For the bar to travel vertically, it needs to start over the body's centre of mass. That point is mid-foot. If the bar starts in front of mid-foot, physics will pull it back toward you as you pull. It swings in an arc rather than travelling in a straight line. That arc is wasted energy, and it creates a forward moment at the hip that your lower back is not equipped to handle efficiently. If the bar starts behind mid-foot, you'll fall backward.
Mid-foot is geometry, not a coaching preference.
How to check it: Stand with the bar over your mid-foot, film from the side. The bar should be directly above the middle of your foot, not the ball, not the heel. The middle. Adjust before every setup until it's automatic.
The Setup: Three Positions Before the Bar Moves
Once the bar is over mid-foot, your setup follows a specific sequence. You need to establish three positions before you begin the pull. None of them are optional.
Position 1: Shins to the bar.
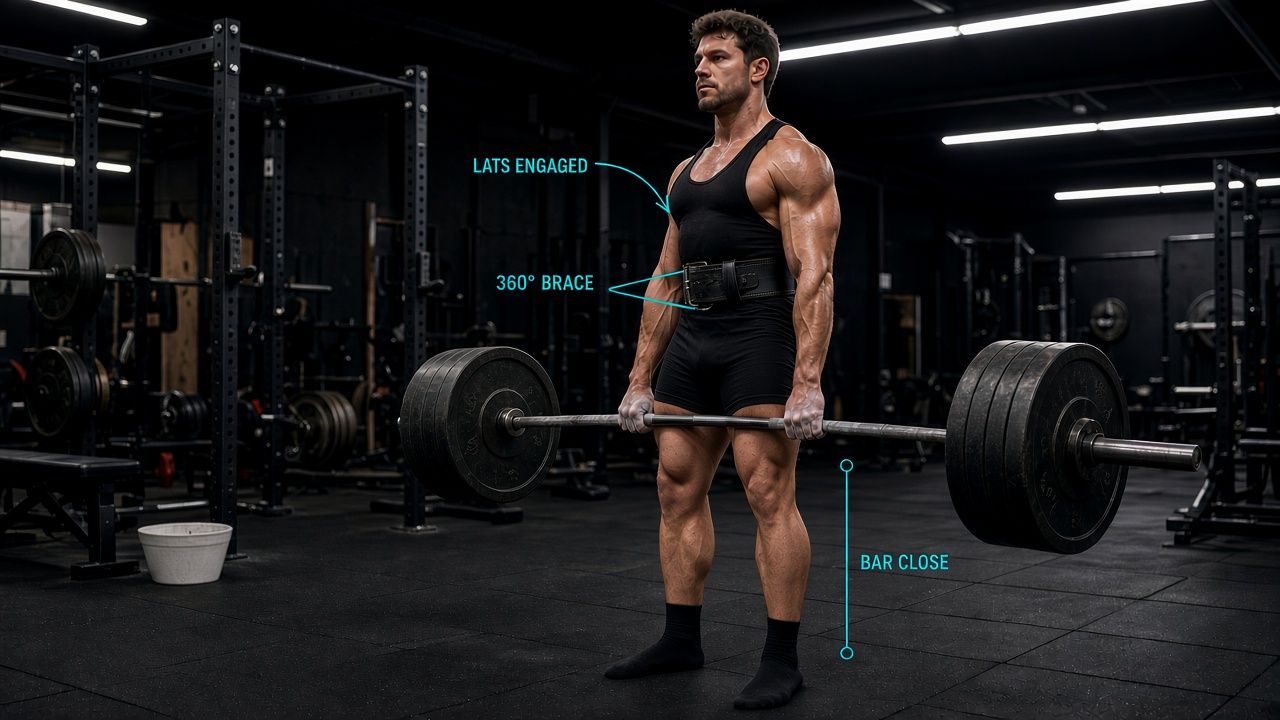
Approach the bar and take your grip. Now push your shins forward until they're 1–2cm from the bar, close but not touching. When you do this correctly, the bar will be nearly against your shins. Any further away and the bar will have to swing back toward you on the way up. Your setup creates the bar path before the pull begins.
Position 2: Hip height — finding the hinge.
This is where beginners make the most critical error. They either set their hips too high (the bar doesn't move and only the lower back loads, turning it into a Romanian deadlift) or they drop their hips too low (the setup looks like a squat and the hips rise before the bar breaks the floor).
The correct hip position places your shoulder blades directly over the bar, with the back angle established naturally by your proportions. You're hinging, not squatting or bending over: a loaded position where the hamstrings are under tension, the hips are above the knees, and the shoulders are above the hips.
There is no universal number for hip height. Your femur length, torso length, and mobility determine it. What is universal is the target: shoulder blades directly over the bar. That's the position. Find it.
Position 3: Lat engagement.
Lock your lats on before the pull begins. The cue is to protect your armpits. Imagine someone is about to shove a stick under your armpits from both sides simultaneously. To prevent it, you'd tighten your lats hard. That's exactly the muscle activation you need.
When the lats engage, they pull the upper arm (and therefore the bar) close to the body. This keeps the bar on a vertical path. When the lats disengage, the bar drifts away from the body, the moment arm at the hip increases dramatically, and your lower back bears a load it was not designed to carry.
Lats on. Bar close. Every rep.
The Brace: Your Non-Negotiable Safety System
You have your position. Now brace.
Standing 360-degree brace, exactly as you would in the squat. Take a massive breath into your abdomen, not your chest. Belly forward, obliques outward, lower back backward. All of that simultaneously. Now brace hard against it, like someone is about to punch you in the stomach. Every muscle around your spine contracts against the pressurised air you've just created.
Hold that brace. Don't begin the pull without it.
This intra-abdominal pressure creates a rigid hydraulic cylinder around your spine. It's the primary safety mechanism for the lift. A deadlift performed without a locked brace is a deadlift performed with an unprotected spine. Either the brace is locked, or it isn't. Treat every rep accordingly.
Pulling the Slack Out: The Step Most Beginners Skip
Modern barbells are not rigid rods. They flex. A loaded bar bends before it leaves the floor, and that flex means there is slack in the system between the plates and the bar itself. If you pull from a slack bar, the bar jerks: a sudden, uncontrolled force application that disrupts your position and transfers an impact load through your spine.
Pull the slack out before you drive.
From your setup position, with brace locked and lats engaged, pull against the bar without pulling your body out of position. Drive your legs into the floor while keeping your hips still. You'll feel the system tighten. You may hear the plates click as they engage the bar. The bar begins to flex upward before it leaves the floor. When everything is loaded and under tension, then drive.
This is the difference between a jerk and a pull. The jerk yanks the bar off the floor with sudden force and pays for it in lost position and spinal load. The pull begins with accumulated tension and ends with the bar travelling vertically under control.
The Drive: Push the Floor Away
The most important reframe in the deadlift is that you're pushing the floor away from you, not pulling the bar up.
The intent changes the mechanics. "Pull the bar up" encourages spinal flexion and a back-dominant effort. "Push the floor away" engages the legs first: the quads and glutes. The bar rises as a consequence of your legs extending. The back's job is to stay braced and rigid while the legs drive.
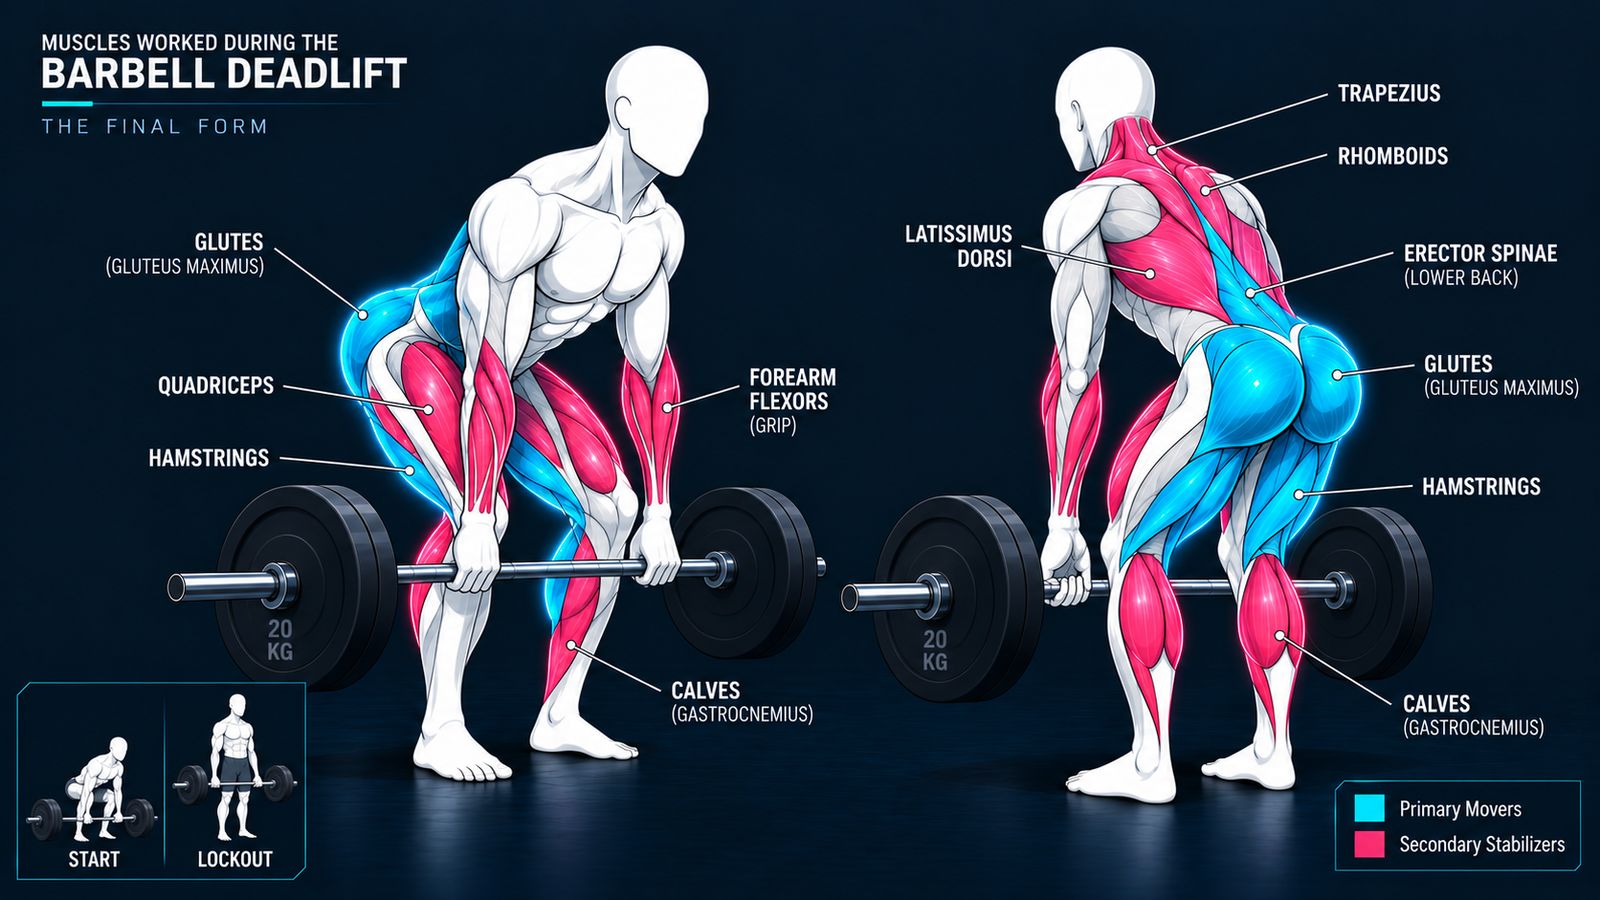
From your setup position, drive your feet into the platform. Think of pressing the earth down and away from underneath you. Your legs extend. The bar rises. Your hips maintain their angle until the bar clears the knees, then the hips drive through to complete the lift.
The hips don't shoot up before the bar clears the knees. If the hips rise while the bar stays on the floor, your legs have abandoned the lift and your back has inherited it. That's the most common fault in the deadlift and the most dangerous. Push the floor away. Keep the legs in the lift.
Lockout: Stand, Don't Lean
As the bar passes your knees, your hips drive forward and through. The glutes contract hard, pulling the pelvis to full extension. The knees lock out. You're standing: fully upright, hips open, shoulders back, bar hanging at arm's length.
The common cue "lean back" at lockout is responsible for a significant amount of lumbar hyperextension in the deadlift. Leaning back is not lockout. Standing is lockout. Stand tall. Hips fully through, knees fully locked, shoulders directly above the hips. The back is neutral, not hyperextended, not flexed. Neutral and braced.
Hold the position. Own it. Then lower the bar.
Lowering the Bar: Your Back Doesn't Know the Rep Is Finished
This is where beginners drop the ball, sometimes literally. The rep is over. The bar is at lockout. The back-load is not over.
Lower the bar under control. Hinge at the hips: send them backward, allow the bar to descend along the same path it rose. Keep your lats engaged, keep your brace held, lower the bar with the same tension you used to lift it. When the bar reaches the floor, set it down. Don't crash it. Don't drop it unless safety demands it.
Your lower back doesn't know the rep is finished. The positions that injure people in the deadlift are often the ones they take for granted: the walkout, the lowering, the reset. Treat every part of every rep as the lift.
Equipment: Closer to the Floor Is Better
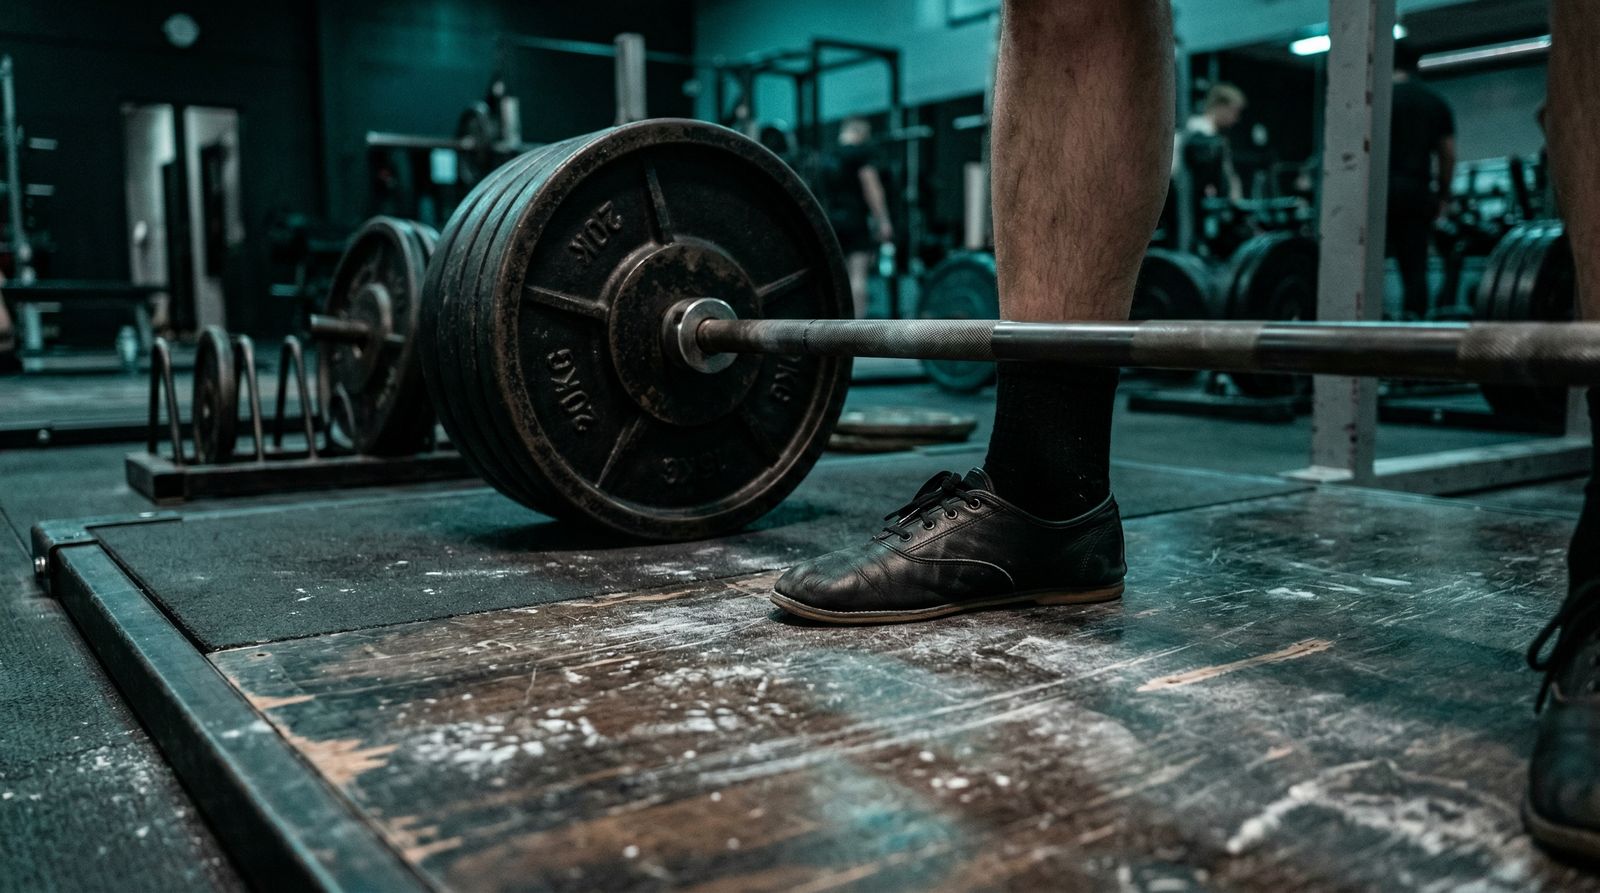
Footwear: Flat shoes or deadlift slippers. The closer to the floor, the shorter the range of motion. Running shoes with thick, compressible soles add unnecessary distance between your foot and the floor and destabilise your base. Chuck Taylors, Vans, or dedicated deadlift slippers are correct choices.
Grip:
Double overhand: both hands pronated, knuckles facing away. The beginner's grip. Teaches genuine grip strength and keeps a symmetric load through the spine. Use this for warm-ups and lighter working sets. When grip becomes the limiting factor, progress to mixed grip.
Mixed grip: one hand pronated, one supinated. The supinated hand prevents the bar from rotating out of the grip. Allows heavier loads than double overhand. Introduce this for working sets above 80% of your current maximum. Be aware that mixed grip creates a small rotational asymmetry, so alternate the supinated hand across sessions.
Hook grip: the advanced option. Covered in the Elite article. Not required at this stage.
Belts: A belt is a tool that amplifies your brace. It gives your pressurised abdomen something to press against, generating higher intra-abdominal pressure than bracing alone can achieve. It does not replace the brace. Learn to brace correctly without a belt first. When you can demonstrate a strong, consistent brace at working weights without one, introduce the belt for sets at or above 80% of your maximum.
A belt worn over an unconditioned brace is a false sense of security. The brace is the safety system. The belt is an amplifier.
Your First Session Checklist
- [ ] Bar positioned over mid-foot: directly over the laces, not at the toes or shins
- [ ] Conventional stance: feet hip-width apart, toes 5–15° out
- [ ] Grip taken: double overhand for session one
- [ ] Shins pushed to 1–2cm from the bar before the pull
- [ ] Hip height set: shoulder blades over the bar, not hips too low or too high
- [ ] Lats engaged ("protect your armpits") before the pull begins
- [ ] 360° brace taken and locked: belly, obliques, and lower back all pressurised
- [ ] Slack pulled out: tension built before the drive begins
- [ ] Drive with the legs first: push the floor away
- [ ] Bar stays close to the body throughout the pull
- [ ] Hips drive through at the top: stand tall, not lean back
- [ ] Bar lowered under control: same brace, same hinge pattern
- [ ] Fresh breath and brace for every single rep
A Word on Weight
Your first session: empty bar, or a light load (40–60kg). The deadlift is not a movement your nervous system has performed before under load. The pattern needs to be grooved before the weight teaches it bad habits. A heavy first session with poor positioning builds a compensated deadlift that will need to be unlearned.
Work through the checklist on every rep. Film from the side. Verify bar path, hip position, and lockout. The bar should look like it's travelling in a straight vertical line from floor to standing. If it drifts forward, something in the setup or the pull is off.
The deadlift rewards precision. Every plate you earn on top of a correct technique stacks cleanly. Every plate you earn on top of a compensated technique adds to a structure that will eventually collapse.
Key Takeaways
- The bar starts over mid-foot, not at the toes and not against the shins, because this is the only position that allows a truly vertical bar path
- Set up in sequence: shins to the bar, hip height established, lats engaged. All three before the pull begins
- The brace is a 360-degree pressurisation event covering belly, obliques, and lower back simultaneously. Hold it for every rep without exception
- Pull the slack out before you drive. Accumulated tension prevents the jerk that disrupts position and loads the spine unevenly
- Push the floor away with your legs. The bar rises as a consequence of leg extension, not back effort
- Lower the bar under control every rep. The lift is not finished when lockout is achieved
Put It Into Practice
This week: Three sets of five reps at a light load, focusing exclusively on bar placement, hip height, and lat engagement. Establish all three positions before the pull. Don't add weight until those positions feel natural and automatic.
This training block: Film every session from the side. Verify your bar path on every working set. It should be a vertical line. If the bar is drifting forward, identify whether the cause is bar placement, lat disengagement, or early hip rise. Fix the root, not the symptom.
Long term: Treat the deadlift as a skill before a strength exercise. The lifters who pull the most weight are not the ones who loaded the bar fastest. They're the ones who built the cleanest pattern first and let the weight follow. The technique you establish in your first year will be the technique you're refining in your tenth.
References
- 1Escamilla RF, Francisco AC, Fleisig GS, et al.. 'A three-dimensional biomechanical analysis of sumo and conventional style deadlifts.' Med Sci Sports Exerc. 2000. PMID: 10912892
- 2Escamilla RF, Francisco AC, Kayes AV, et al.. 'An electromyographic analysis of sumo and conventional style deadlifts.' Med Sci Sports Exerc. 2002. PMID: 11932579
- 3Swinton PA, Stewart A, Agouris I, et al.. 'A biomechanical analysis of straight and hexagonal barbell deadlifts using submaximal loads.' J Strength Cond Res. 2011. PMID: 21659894
- 4Hales ME, Johnson BF, Johnson JT. 'Kinematic analysis of the powerlifting style squat and the conventional deadlift during competition: is there a cross-over effect between lifts?' J Strength Cond Res. 2009. PMID: 19910816
Analysed by FINAL FORM AI. Your form, perfected.