Elite Deadlift Techniques: Pull Like the Best on Earth
What the strongest pullers do differently — and what transfers to you.
By Dhiren Dunraj MSc
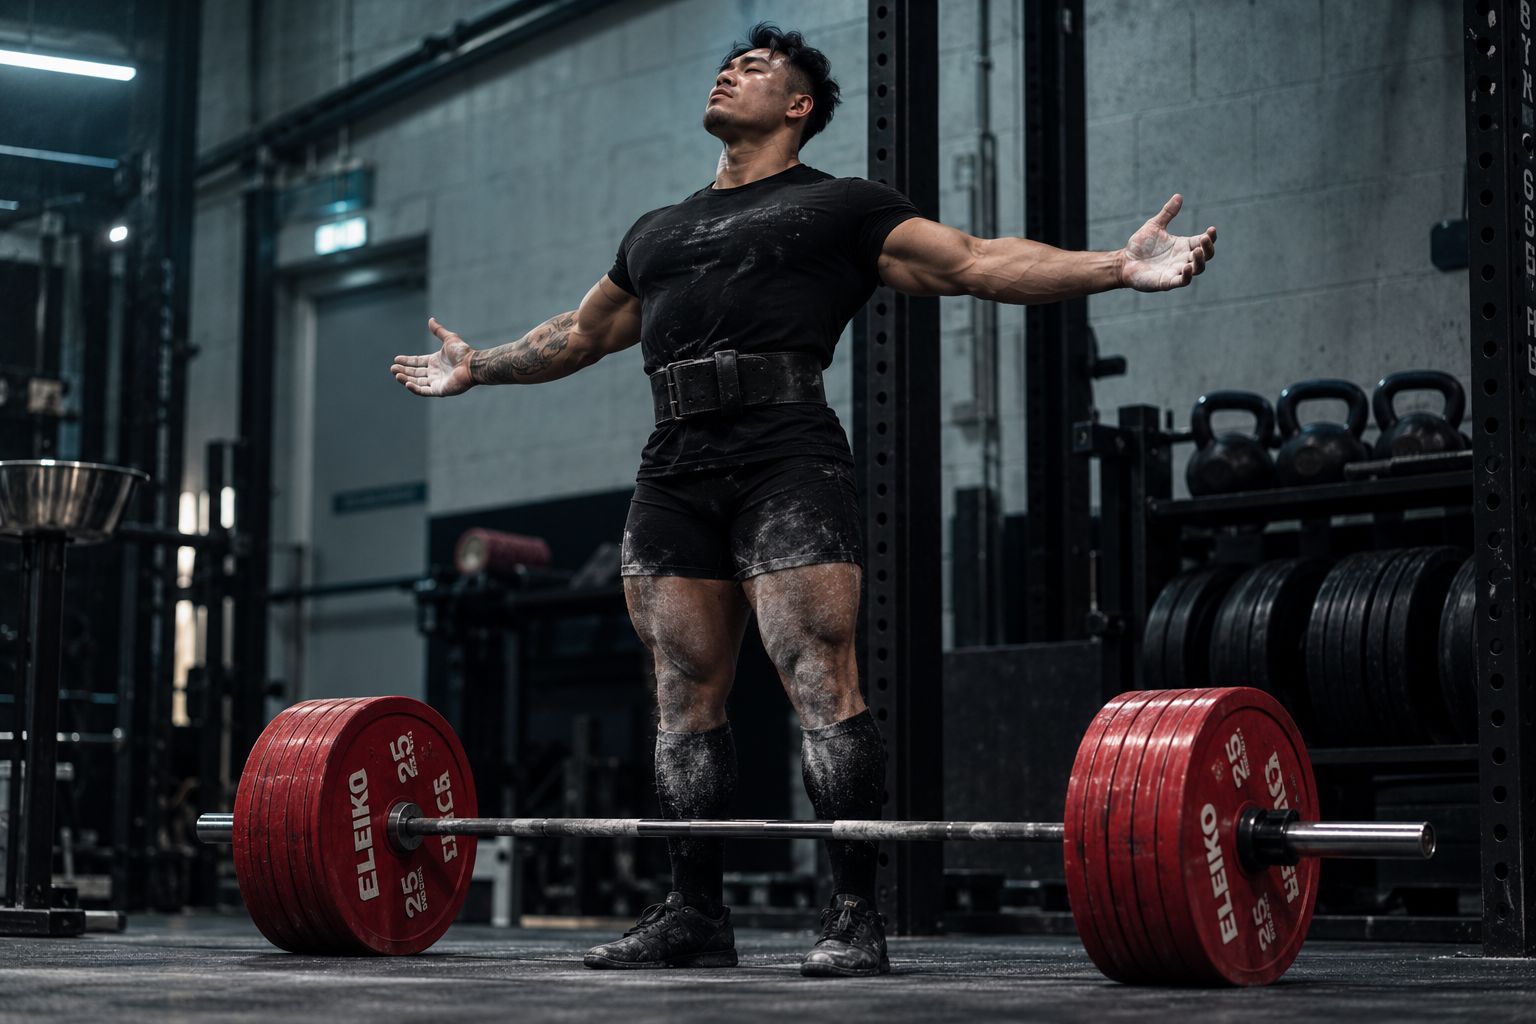
Key Insight
“Pulling 300kg and pulling 200kg are the same lift. The mechanics don't change. The physics don't change. What changes is the preparation: the precision of every position, the quality of every cue, and the depth of the practice that has made those positions automatic.”
The best deadlifters in the world don't use different technique. They use the same technique, with less deviation, under more load, more consistently, than anyone else. The elite conversation is about refinement: identifying the limiting factor with precision and addressing it specifically, with the tools, strategies, and specific practice that take a technically correct lift and turn it into a mechanically optimal one.
Hook Grip: The Superior Grip for Maximal Loads
Mixed grip has served powerlifters well for decades. Hook grip is better. Understanding why, and committing to the adaptation process, is the first decision that separates serious pullers from elite-level ones.
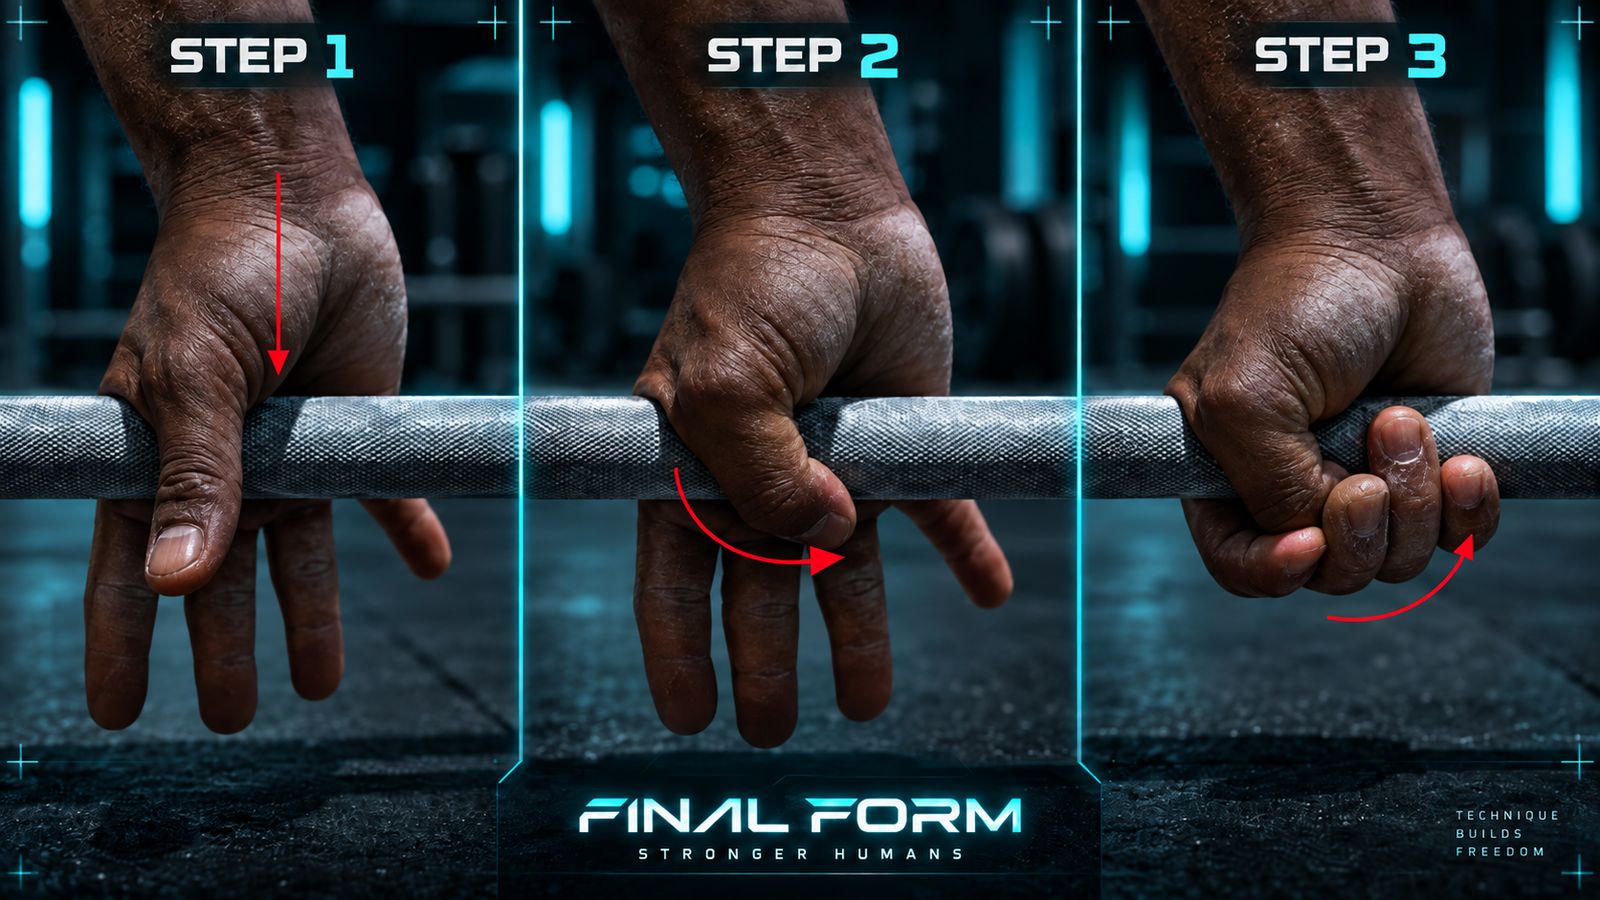
Wrap the thumb around the bar first: not draped over it, but pressed firmly against it, with as much thumb surface contact as possible. Then the fingers (typically the first two, index and middle) wrap over the thumb, pressing it into the bar. The thumb is now locked between the fingers and the bar. The grip is mechanical, not frictional. It does not depend on how hard you squeeze. It locks.
Why hook grip over mixed grip, in full:
The mixed grip creates a rotational asymmetry in the pull. One hand is pronated, one supinated. The bar generates the same rotational force on both hands. The pronated hand resists it by the bar rotating against the fingers outward, while the supinated hand resists it by the bar rotating against the fingers inward. The spine and the shoulder are loaded asymmetrically throughout the pull [1].
Over a single session, this asymmetry is trivial. Over ten years of training, pulling thousands of maximal reps with the same side always supinated, the rotational demand compounds through the shoulder, the thoracic spine, and the lumbar spine. Most experienced mixed grip pullers have a subtle but measurable postural asymmetry directly attributable to this pattern. Alternate which hand is supinated, at minimum.
The more serious concern is bicep tendon rupture. The supinated arm in mixed grip places the bicep in a mechanically disadvantaged position: the elbow is in supination under a load that can momentarily generate enough force to tear the long head of the biceps at the moment of maximum demand. It's not common. But it happens consistently in the powerlifting population, almost exclusively to the supinated arm of a mixed grip puller, almost always at maximal or near-maximal loads. Hook grip removes this risk completely.
The hook grip is also mechanically superior. The thumb, locked under the fingers, is the strongest gripping element in the hand. The hook grip uses this in a way that double overhand cannot and mixed grip does not replicate.
The adaptation process:
The pain is real. The thumbnail, the skin across the knuckle of the thumb, and the metacarpal of the thumb are all under significant compression between the bar and the fingers. Most lifters experience acute discomfort for the first two to four weeks of hook grip practice, particularly at the thumbnail, which may bruise, and the thumb skin, which will tenderise before callusing.
The adaptation is also real. Most lifters who commit fully to hook grip, using it on every pull, every session, without reverting to mixed grip when it hurts, adapt within four to six weeks to the point where the grip is comfortable at moderate loads. Heavy singles may remain uncomfortable but manageable. After three months, the vast majority of hook grip practitioners report complete comfort.
How to accelerate adaptation:
Tape the thumb (athletic tape wrapped around the thumb, not the bar) during the first several weeks. This protects the thumbnail and skin while allowing the underlying structures to adapt. Use hook grip on every set, including warm-ups. Don't revert to mixed grip when it hurts: reverting resets the adaptation.
Sumo vs Conventional at the Advanced Level: Selection Beyond Anatomy
Beginners choose their stance primarily on what feels more natural. Advanced lifters choose it on a more complete set of criteria, and some of those criteria are counterintuitive.
Hip mobility as a limiting factor: Sumo requires genuine hip external rotation range of motion. Without it, the sumo setup is compromised from the starting position: the hips cannot open fully, the torso cannot achieve the more vertical angle that sumo is designed to produce, and the back compensates. An advanced lifter considering a sumo switch needs an honest assessment of their hip mobility first. If the passive range is insufficient, develop it through targeted mobility work before training sumo correctly, not alongside sumo training.
Quad strength as a prerequisite: Sumo places a higher quadriceps demand than conventional at the same relative load. A lifter who has trained exclusively conventional for several years has a quad-to-posterior-chain ratio that reflects conventional biomechanics: the posterior chain may be significantly stronger than the quads. Switching to sumo without addressing this imbalance means pulling in a stance that places the highest demand on the weakest link.
Training history: Five years of conventional deadlift practice is not transferable to sumo. The technique is different. The muscle recruitment pattern is different. The sensory feedback is different. A lifter switching from conventional to sumo is starting a new motor skill from an experienced strength base. Progress in sumo will initially be slower than their conventional maximum suggests is possible. This is not a reason to avoid the switch if sumo is the correct long-term choice, but it demands realistic expectations and a genuine commitment to learning the new pattern from a fundamentally correct base position.
The dual-stance approach: Many advanced lifters train both stances throughout the year rather than committing to one exclusively. Conventional builds posterior chain strength and hamstring length. Sumo builds hip mobility and adductor strength. The cross-training effect is real: lifters who rotate stances over long training cycles frequently exceed the strength levels they achieved while specialising in a single stance. The decision to specialise in one stance for competition is separate from the decision to rotate stances in training.
Accommodating Resistance: Bands and Chains
The conventional deadlift has what sports scientists call an ascending strength curve: the lift is hardest at the floor (the most mechanically disadvantaged position) and progressively easier as the bar rises toward lockout. This means that when you pull a maximal weight from the floor, the load is genuinely maximal at the bottom and well within your capacity by the time you reach lockout.
Accommodating resistance changes this.
Chains: Heavy chain links draped over each end of the bar. At the floor position, most of the chain links rest on the floor: the bar carries only the weight of the chain attached to the sleeve, not the full chain weight. As the bar rises, links lift off the floor and join the load. By lockout, the full chain weight is on the bar. The result is that the load increases as the bar rises, matching the lift's ascending strength curve with an ascending load.
The training effect is that the nervous system is forced to maintain maximum force production to the end of the movement, rather than coasting through the easier top portion. This develops specific lockout strength and trains the body to apply consistent drive from floor to lockout rather than relaxing when the lift becomes "easy."
Bands: Elastic resistance bands anchored to the floor or platform, looped over the bar. At the bottom, the bands are at minimum stretch and contribute minimal additional resistance. At the top, the bands are at maximum stretch and contribute their maximum resistance, which can add 20–50kg or more of effective load at lockout.
The difference from chains is that in deadlift applications, bands are typically anchored below the bar, providing added resistance throughout with increasing emphasis at the top. If anchored above the bar, bands provide a deloading effect at the bottom, but this is less common in deadlift work.
Programming accommodating resistance: Use chains or bands when the sticking point is mid-pull or at lockout: when the floor is no longer the limiting position. They're not useful if the floor is the sticking point, because they add weight where the lift is already hardest. Introduce accommodating resistance at 10–15% of total bar weight as chains or band tension, and assess the effect before increasing.
Deficit Deadlifts: Building Strength in the Worst Position
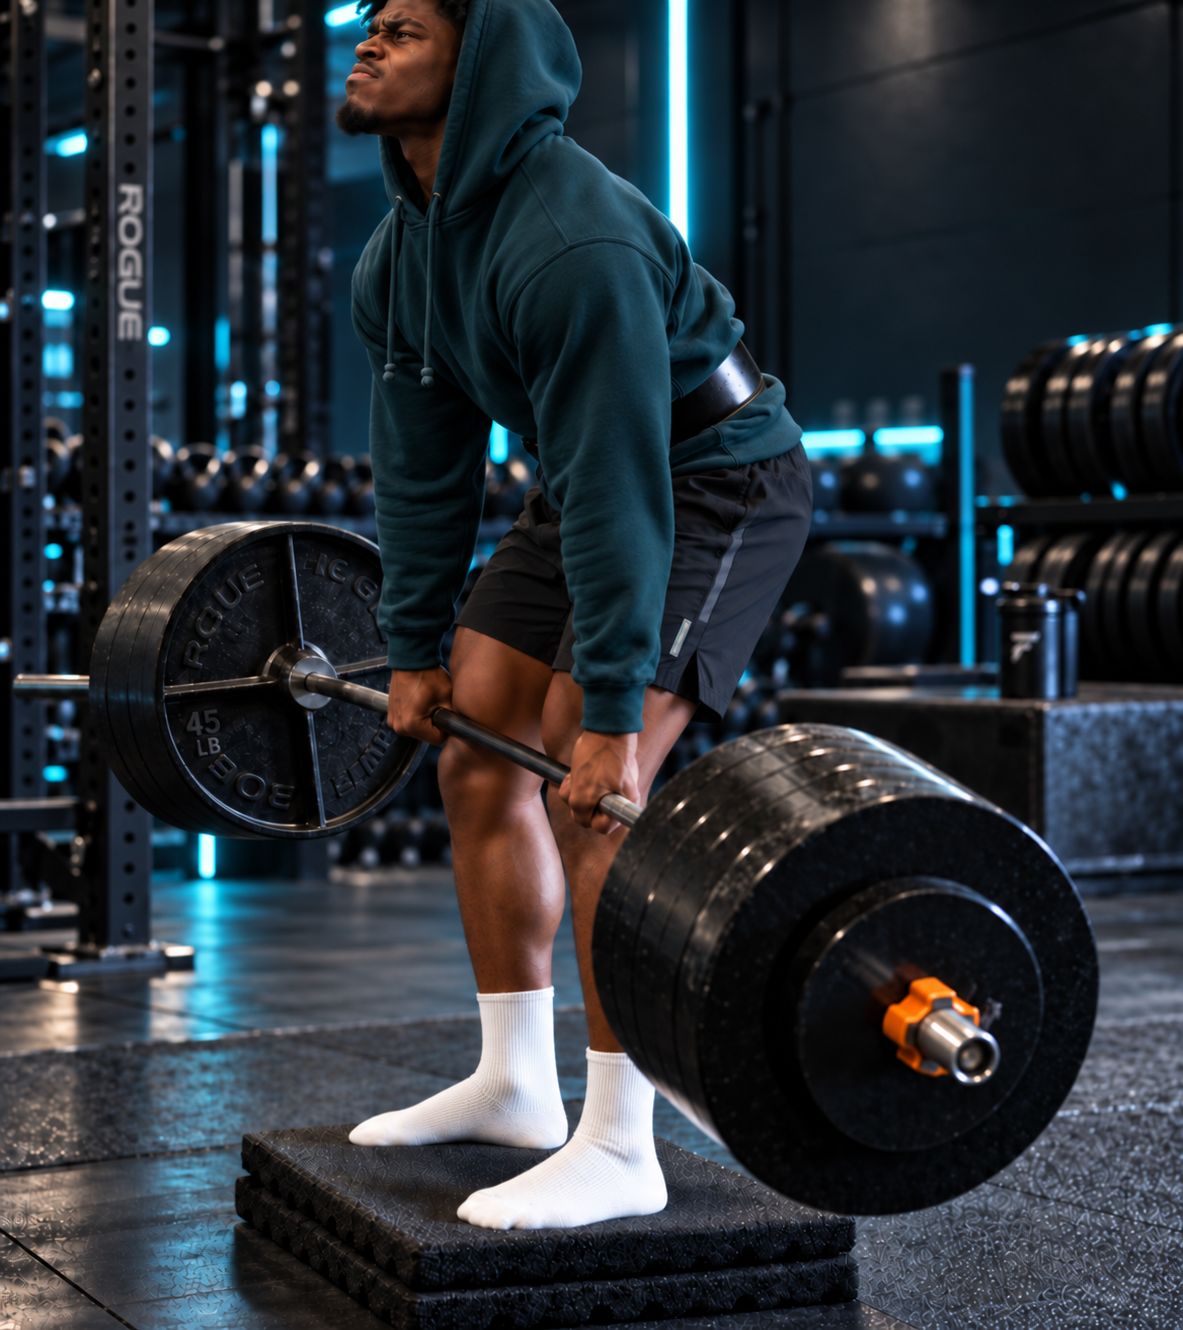
Perform a deficit deadlift from an elevated platform, typically a 2–5cm wooden board, rubber mat, or weight plate placed under the lifter's feet. The bar remains on the floor. The lifter is now positioned lower relative to the bar, which increases the range of motion of the pull. The starting position becomes more demanding: the hips must descend lower, the back angle becomes slightly more horizontal, and the bottom position that was already the hardest part of the lift becomes harder still.
This is the purpose of the deficit. When the floor is the sticking point (when the bar consistently breaks the floor slowly or stalls just above it) the deficit makes the floor position harder in training, so the actual competition floor feels comparatively easy. The strength developed at the 3cm deficit position transfers directly to the standard floor position.
When to use them: When the floor is the sticking point. If the bar breaks the floor cleanly but stalls mid-pull or at lockout, the deficit is the wrong tool: it makes the wrong part of the lift harder. Diagnose the sticking point first. Apply the tool that addresses it.
How deep: 2–3cm is effective for most lifters. 4–5cm suits very advanced lifters who need a greater range challenge. More than 5cm changes the mechanics significantly, particularly for lifters with limited hip mobility, and is rarely productive.
Programming: Deficit deadlifts are a supplemental movement, not a primary one. Three sets of three to five at 70–80% of working weight, once per week, is a standard approach. Don't use them to replace the competition-style deadlift. Use them alongside it to address the specific deficit that the floor represents.
Rack Pulls: Developing Supramaximal Confidence
The rack pull is a partial deadlift from a safety bar or pin set at a height above the floor, typically mid-shin or just below the knee. By starting the pull from mid-range, the rack pull removes the floor-to-shin portion of the lift and targets the mid-pull and lockout specifically.
The primary advantage is supramaximal loading. A rack pull from the knee allows most lifters to handle 15–25% more weight than their competition deadlift maximum. This exposure to weights above the competition maximum builds lockout strength, develops connective tissue capacity, and provides a neural experience of holding a load heavier than anything encountered in competition. The first time you pull 200kg in competition feels different when you've held 220kg at the top of a rack pull in training.
Upper back development: The rack pull is particularly effective for developing the upper back strength required to maintain position under heavy loads. The shortened range of motion allows loading beyond the full deadlift maximum, and the upper back is under maximum demand at the mid-shin to knee portion of the pull. Heavy rack pulls consistently produce upper back strength gains that transfer to improved position maintenance in the full deadlift.
When not to use them: Rack pulls have limited carryover to the floor pull. A lifter whose sticking point is the floor will not improve their floor pull by training rack pulls: the floor position is not addressed. Rack pulls address the mid-pull to lockout range. Use them accordingly.
Programming: Two to four sets of one to three reps at 105–120% of competition maximum, once per week or once per fortnight depending on recovery capacity. These are heavy and demanding: treat them like competition lifts in terms of brace quality, lat engagement, and lockout standards.
Back Angle Optimisation for Conventional: Finding Your Mechanical Advantage
The angle of the torso at the start of a conventional pull is one of the most individually specific technical variables in strength sport. One fundamental factor determines it: the ratio of torso length to leg length. But understanding what the angle does mechanically allows an advanced lifter to work with their anatomy rather than against it.
A more horizontal starting back angle (torso closer to parallel with the floor) creates a longer moment arm between the bar and the hip: the hip must resist a greater rotational force. This increases the demand on the hip extensors (glutes and hamstrings) and on the erectors as stabilisers. If these muscles are the strongest in the chain (if the glutes and hamstrings are the lifter's most developed structures) a more horizontal back angle uses this strength.
A more vertical starting back angle (torso more upright) shortens the hip moment arm and shifts more of the load to the knee extensors (quads). A lifter with quad-dominant strength relative to their posterior chain will find a more vertical setup feels stronger. This is more common in sumo, but applies to conventional lifters as well.
The practical implication is to experiment with hip height systematically. Lower the hips slightly and assess whether the pull feels stronger or weaker at the floor. Raise them and do the same. The position that produces the most controlled, vertically-tracked pull at near-maximal effort is the position that best matches your current muscular strengths. As those strengths change with training, the optimal position may shift.
Never change back angle as a technique correction in isolation. Back angle is a downstream variable determined by hip height and limb proportions. The upstream variable to adjust is hip height. Adjust the hip height and let the back angle follow.
Attempt Selection: The Arithmetic of the Third Pull
This section has a single purpose: preventing catastrophic errors in attempt selection that turn a strong performance into a zero total.
A bomb-out on the deadlift (failing to complete any of three attempts) produces a zero total for the session. Not a reduced total. Zero. Everything done in the squat and bench press is nullified for the purposes of the result.
Internalise this arithmetic before the first attempt is selected.
First attempt: A weight that has been performed for multiple reps in training recently. Not a maximum. Not a conservative opener that "feels safe" but has never been lifted with confidence at that weight in a training environment. A weight pulled for two to three controlled reps in a recent training session. For most lifters, this is 88–92% of their current training maximum.
Second attempt: A strong, confident lift: a weight the lifter is certain of. This is typically the "day's best" rather than the session's maximum. For most lifters, 95–98% of training maximum. The second attempt should be a weight the lifter would be satisfied with as a competition result if something goes wrong with the third.
Third attempt: The competition PR, not a gamble or a wish: a weight that's achievable on this particular day given warm-up quality, fatigue level, and what the first two attempts felt like. The difference between a calculated third attempt and an ego-driven one is preparation and arithmetic.
Know the competition arithmetic before the session begins. What weight do you need to secure a podium position? What total do you need to achieve a qualifying standard? If a specific weight matters for the result, calculate it and work backward to an opener that secures it. If you need 280kg for a total target and you've pulled 280kg in training three times in the last month, a second attempt of 280 is defensible. An opener of 270, second of 280, third of 290 is a structured plan. Opening at 280 and hoping for 300 with no recent training evidence is not.
The third attempt is where ambition meets arithmetic. Bring both.
Key Takeaways
Hook grip is mechanically superior to mixed grip. It removes asymmetric spinal loading and the bicep rupture risk. Adapt to it fully before reverting to mixed, and most lifters adapt within six weeks.
Advanced stance selection considers hip mobility, quad-to-posterior-chain balance, and training history, not just anatomy. A conventional-trained lifter switching to sumo is starting a new motor skill, not applying a shortcut.
Accommodating resistance (bands and chains) addresses the lockout by increasing load where the lift is easiest. Use it when mid-pull or lockout is the sticking point, not when the floor is.
Deficit deadlifts overload the most mechanically demanding position. Use them when the floor is the sticking point, at 2–3cm height, as a supplemental movement.
Rack pulls allow supramaximal loading for upper back development and neural exposure to weights above competition maximum. They don't address the floor pull.
Third attempt selection is arithmetic, not ambition. Know what you need, calculate from the opener, and approach the attempt with evidence, not hope.
Put It Into Practice
This week: If you're using mixed grip, begin the hook grip transition immediately: on every warm-up set, every working set, tape the thumb if needed. The adaptation does not start until the commitment does.
This training block: Identify your sticking point from video review of your three most recent near-maximal pulls. Is the bar slow at the floor, stalling at the knee, or grinding at lockout? Choose one supplemental movement from this article that addresses that specific position. Programme it once per week for eight weeks. Reassess.
Long term: Treat technique as the variable that never stops improving. The elite deadlifters who pull the most weight are the ones who continued to examine, test, and adjust their positions, their tools, and their strategies for as long as they competed. The ceiling is higher than you think.
Analysed by FINAL FORM AI. Your form, perfected.
References
- 1Escamilla RF, Francisco AC, Fleisig GS, et al.. 'A three-dimensional biomechanical analysis of sumo and conventional style deadlifts.' Med Sci Sports Exerc. 2000. PMID: 10912892
- 2Escamilla RF, Francisco AC, Kayes AV, et al.. 'An electromyographic analysis of sumo and conventional style deadlifts.' Med Sci Sports Exerc. 2002. PMID: 11932579
- 3Swinton PA, Stewart A, Agouris I, et al.. 'A biomechanical analysis of straight and hexagonal barbell deadlifts using submaximal loads.' J Strength Cond Res. 2011. PMID: 21659894
- 4Hales ME, Johnson BF, Johnson JT. 'Kinematic analysis of the powerlifting style squat and the conventional deadlift during competition: is there a cross-over effect between lifts?' J Strength Cond Res. 2009. PMID: 19910816
- 5Cholewicki J, McGill SM, Norman RW. 'Lumbar spine loads during the lifting of extremely heavy weights.' Med Sci Sports Exerc. 1991. PMID: 1758295
- 6Andersen V, Fimland MS, Mo DA, et al.. 'Electromyographic comparison of barbell deadlift, hex bar deadlift, and hip thrust exercises: a cross-over study.' J Strength Cond Res. 2018. PMID: 28151780